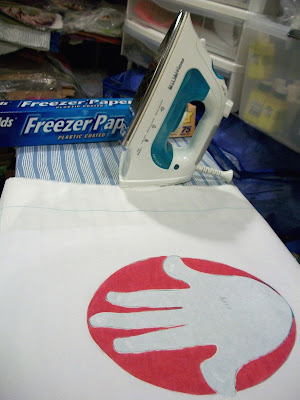
Finally...time to move on to the opaque fabric paint.
First, I had to cut some freezer paper masks so that I could work on the oval background and the hand separately. I also cut a mask to cover the area surrounding the oval and hand. I will be working on that part of the piece later, after I finish with the center area.
 |
| Cutting out the freezer paper masks |
I decided to work on the oval areas around the Hamsa hands first. After cutting the freezer paper masks, I ironed them on to the fabric.
 |
| Ironing the freezer paper masks to the fabric |
Next, I mixed up some colors of opaque fabric paint. I rolled each paint color out on a glass palette with a foam roller (also called a brayer) to get an even coat on the roller. On the piece with the blue oval (and orange Hamsa), I rolled colors out on print blocks and printed the uncovered area with them.
 |
| Printing with opaque fabric paint |
On the piece with the fuchsia oval (and turquoise Hamsa), I slipped a hot glue block design under the fabric and rolled the paint over the fabric to pick up the design (a "brayer" rubbing). I then moved the block to offset the design and used one of the Pentel pastel dye sticks to do a rubbing.
 |
| Rubbings with opaque fabric paint and pastels |
Now it's time to cover up the background and print the Hamsa hands. Won't be long before I remove all the glue!
 |
| On to printing the Hamsa hands! |


What is that blue block made out of?
ReplyDeleteThe blue block is made from moldable foam. If you heat the block with a heat gun or embossing tool, it softens. Turn the softened block onto a texture and the texture will emboss in the block. I get my blocks fr Dharma Trading Company. I believe that they call them "moldable foam stamps." Hope that helps.
Delete