Showing posts with label printing. Show all posts

Wednesday, May 21, 2014

Rich Stories


I've been eagerly awaiting this last class of Fabric Painting, Printing, and Stitching to Tell a Story with Cloth (aka Story Cloth). I was not disappointed...

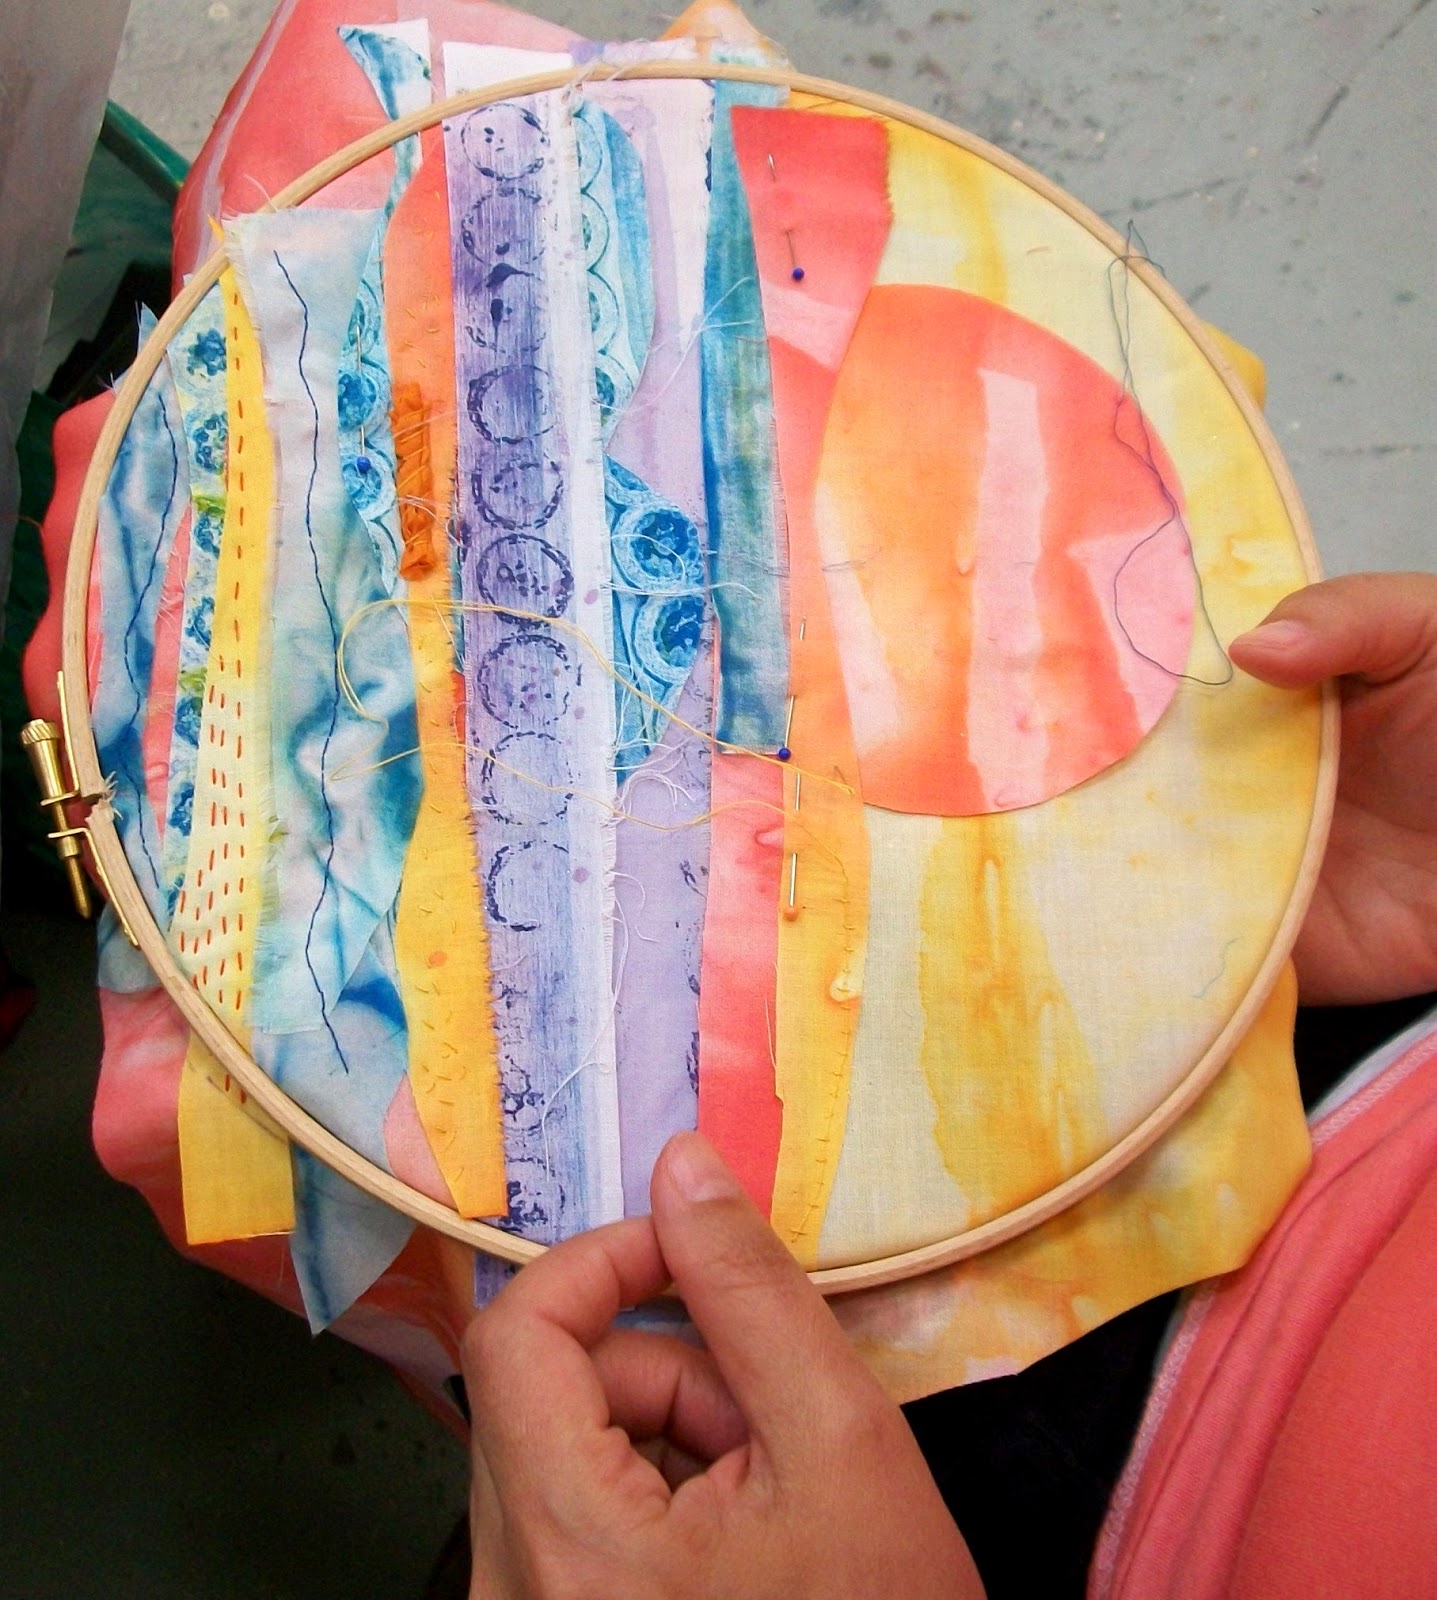
As Barbara, Susan and Jane pulled out their projects, I felt overwhelmed by the rich colors and beautiful stitches.

This was Barbara's first experience with stitching freely, letting the emotion of her story carry her needle and thread. She grew up in Hungary learning traditional stitchery so this was a new experience. She is certainly a natural!

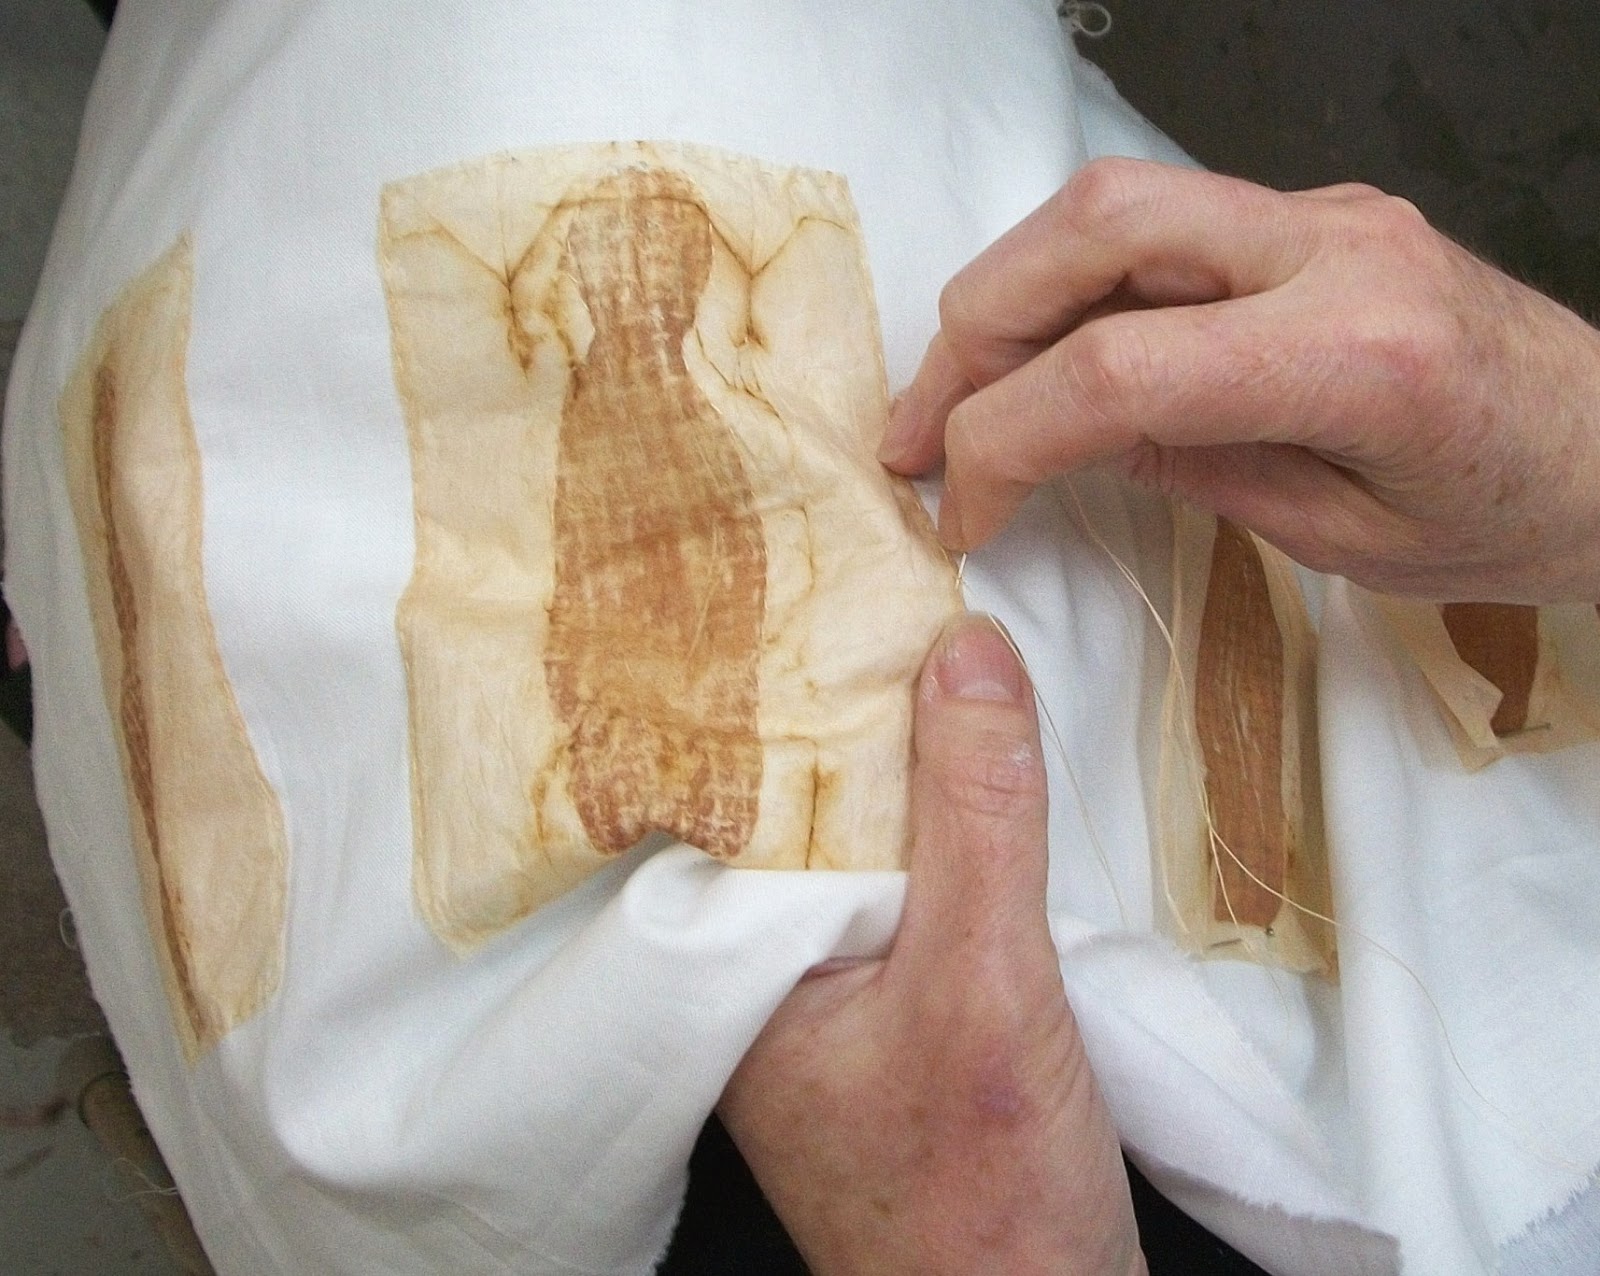
Susan brought in two pieces with her printed figures. The class enjoyed interpreting all the possible stories reflected in this simple (yet really complex) piece made from printed tea bags.

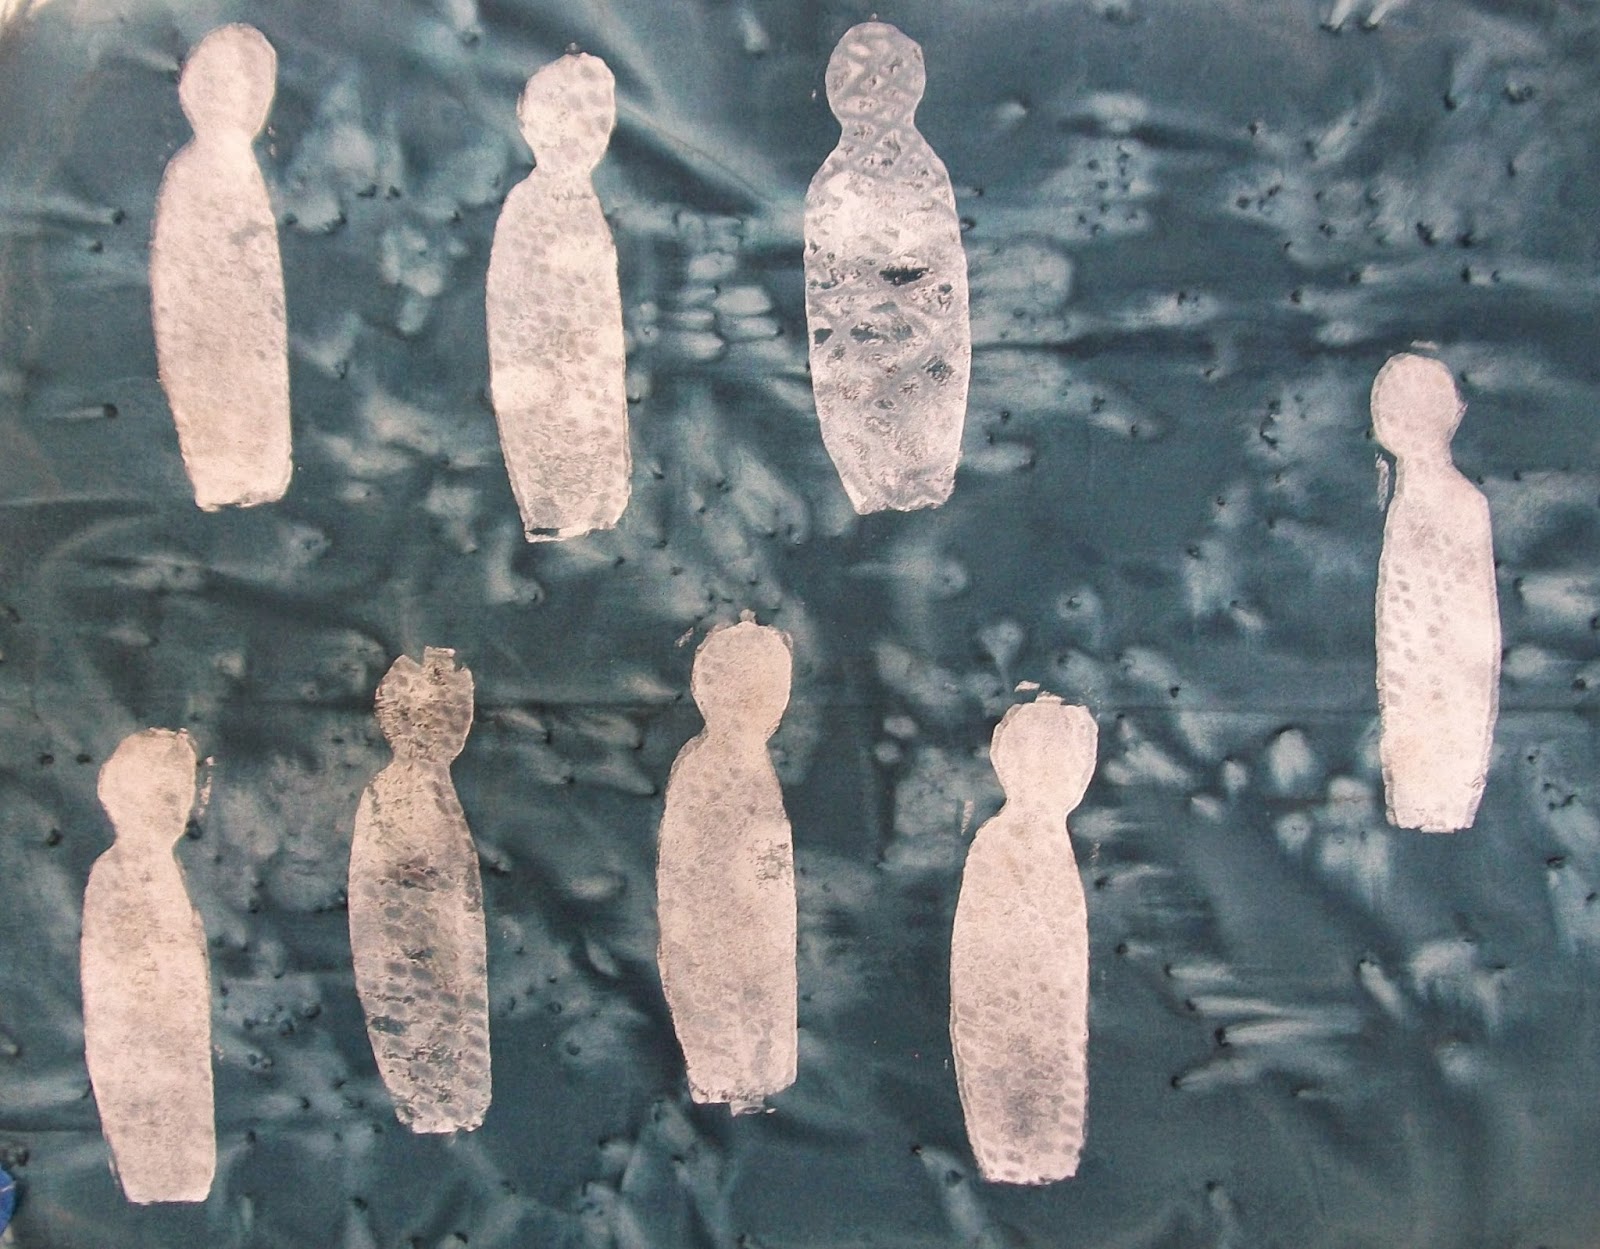
The second piece is also very mysterious...who are these figures? The stitching is quite beautiful and rhythmic.

Jane continued to work on her humorous story of the moles and her son's dog. She has wonderful plans for this piece that is coming together. She has a deadline...her son's birthday in mid-June. I can't wait to see the finished piece!

We are planning to get together in a month to see how the pieces progress. It might be time for me to join in with a story of my own!

Thank you students! You were such a rewarding group to teach!

Saturday, May 17, 2014

Story Cloth: An Update

Barbara stitching the sunrise.
 Fabric Painting, Printing and Stitching to Tell a Story with Cloth (aka Story Cloth) is going into its last week. I've immensely enjoyed teaching this group of students and I will be sorry to say goodbye to them.

This past week there was still a bit of painting and printing but the main focus was on stitching to add dimension, texture and details to the stories.

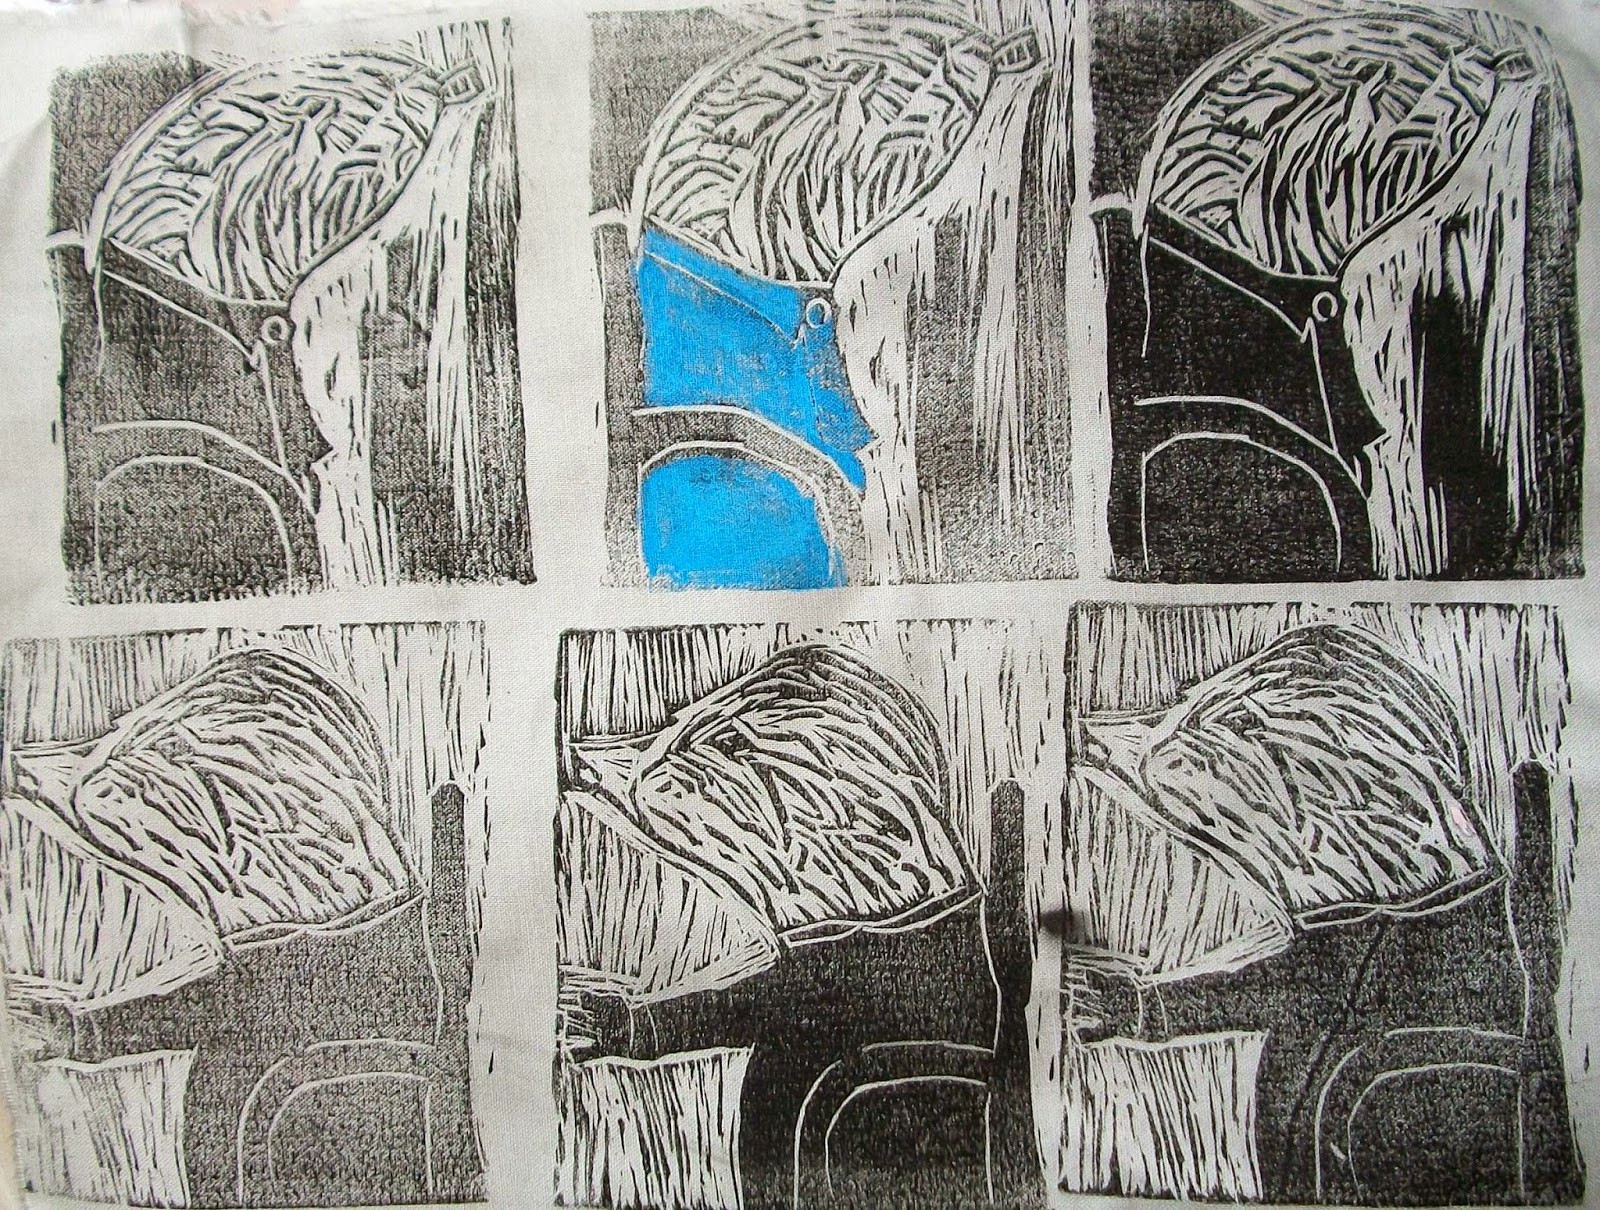
Jane printed the pesky moles in her story. They will be enjoying their breakfast while her son's dog barks and digs far away at the tunnel entrance.

Sample prints of Jane's moles.

Susan printed figures on tea bags last week and started stitching them onto fabric this week. She's got me so excited about tea bags...I have a collection growing and hope to do a future newsletter about printing on them.

Susan printed figures on tea bags.
Stitching them to fabric.
A second piece with printed figures. Susan plans to do a lot of stitching on this one!
Barbara is working on a series of ten scenes that will be presented and hung in embroidery hoops. These are based on her impressions of the movie, Midnight's Children, an adaptation of Salman Rushdie's novel.

Additional fabrics for Barbara's story.


Fabrics that feel like India.

Auditioning a fabric for one of the story scenes.

You can understand why I will miss this group! More to come as we finish up the class this Wednesday.

Tuesday, May 6, 2014

Teaching Catch-Up: Student Work from Recent Classes

Barbara M-C

Time for a little catch-up (no, not ketchup or catsup)...

 Tomorrow, is class #3 of my five-session class, Fabric Painting, Printing, and Stitching to Tell a Story with Cloth (or what I like to call Story Cloth). So far we've been focusing in on story settings. This week we invite the characters into the picture. My students already have plans for where there stories are heading. It's so exciting!

Barbara M-C


Barbara M-C


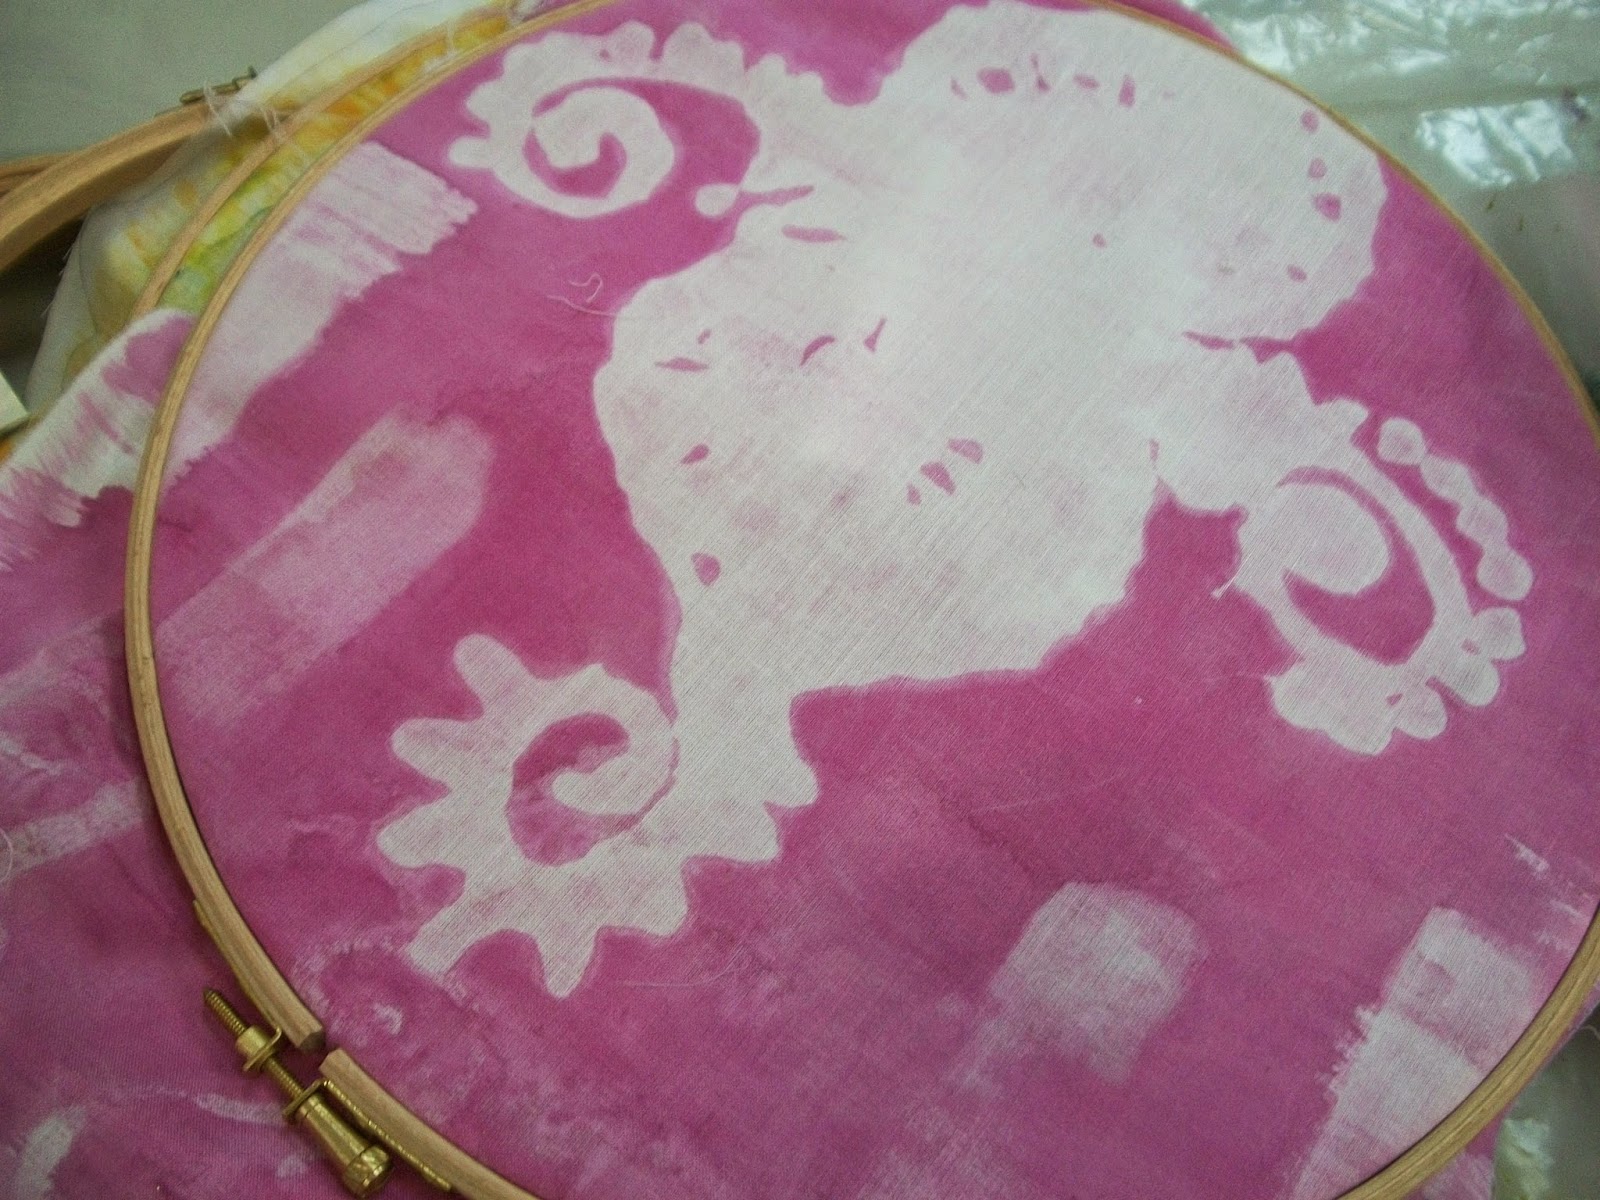
We did some gelatin printing last week. Gelatin printing brings out the young explorer in me! First, is the fact that the gelatin plate is soft, and cool to the touch...should I say sensual...!? Then there is the constant surprise of the beautiful ghost print. Layering prints is when things really start to sing...when the stories start to come out...

Jane H.


Jane H.


Susan P.


Susan P.

More to come as we forge ahead.


On Saturday, I taught, Inspired by Nature: Creative Fabric Designs. I had three students new to painting and printing fabric and one continuing student. It was a fun day, though I jam-packed the class with techniques. As I continue to teach, I'm learning (still learning!) that sometimes it's better to teach fewer techniques and let the students delve into them. I'm thinking of re-structuring this class for the future.

Barbara H.
Barbara H.


Barbara H.


Cindy B.


Deborah H.


Kathy S.


Tuesday, May 15, 2012

Gelatin Printing with 4-Year Olds


I spent this morning with a class of curious 4-year olds at my synagogue's pre-school. I was invited to come in to do a project and show some of my artwork by the class teacher, Joan. Joan and I have gotten to know each other over years of yoga classes.

I brought in some of my dolls and some printed fabrics (with animal designs) and then led them in a project printing with leaves and gelatin. It was great fun watching them arrange their hydrangea leaves, touching the fabric on the cool, soft jello and the surprise on their faces when they lifted off their pieces of fabric with the detailed designs left by the leaf veins.


All-in-all it was a very satisfying morning.

If you would like to try this project, you can get the particulars starting with the post: Kitchen Surface Design: Making a Gelatin Printing Plate.

Monday, April 30, 2012

Arresting Resists: The Week (3) Ahead


Potato starch paste: Dribble from spoon, spread and scratch

This is what we will be covering in my Arresting Resists class this week. Can't wait to see what my students do with these resists...

Cornstarch paste: Applied with plastic wrap, spread and scratch

Potato starch paste: Applied with plastic wrap, applied with cake decorator

Baking powder paste: Applied with plastic wrap, applied with bristle brush
  
Gelatin: Applied with bristle brush, rubbing with plastic spreader


Gelatin: Stenciled and printed

Re-crystallized salt: Color washes and printing


Friday, March 16, 2012

Cat Mola: Transferring the Design to the Block


Now that the cat mola design has been reduced to a size that will fit on the Speedball Speedy Carve block, it's time to transfer the design. To transfer the design you will need a piece of tracing paper, a #2 graphite pencil, a pair of scissors, a few pieces of masking tape and a soft rubber brayer (roller).

Place the block on the piece of tracing paper and  draw around the outside edges. This forms a frame for the cat design.

Slip the reduced cat mola design under the tracing paper and center it within the outline of the block. Tape in place so that it doesn't shift.

Trace over the outlines of the design using the #2 pencil.

Once the design is traced, trim the tracing extra tracing paper. I usually leave about an inch or so of the tracing paper around the design.

Flip the tracing paper onto the Speedball Speedy Carve block.

Using the soft rubber brayer, carefully roll over the design. You will need to hold the design in place or tape it down so that it doesn't shift while you are using the brayer,

Lift off the tracing paper and you will see that the design has transferred onto the block.

Now it's time to carve the design. Stay tuned!