Showing posts with label Pebeo Setacolor paints. Show all posts

Tuesday, March 4, 2014

The Printed Fabric Bee Mosaic Collection Giveaway

 
It's time for another fabric giveaway from The Printed Fabric Bee. This month's Queen was Lesley Riley. She requested the theme, mosaics and the colors yellow, orange, purple and fuchsia. Here is her inspiration photo:


The Hive got to work and here is this month's very colorful giveaway collection of 6" squares:


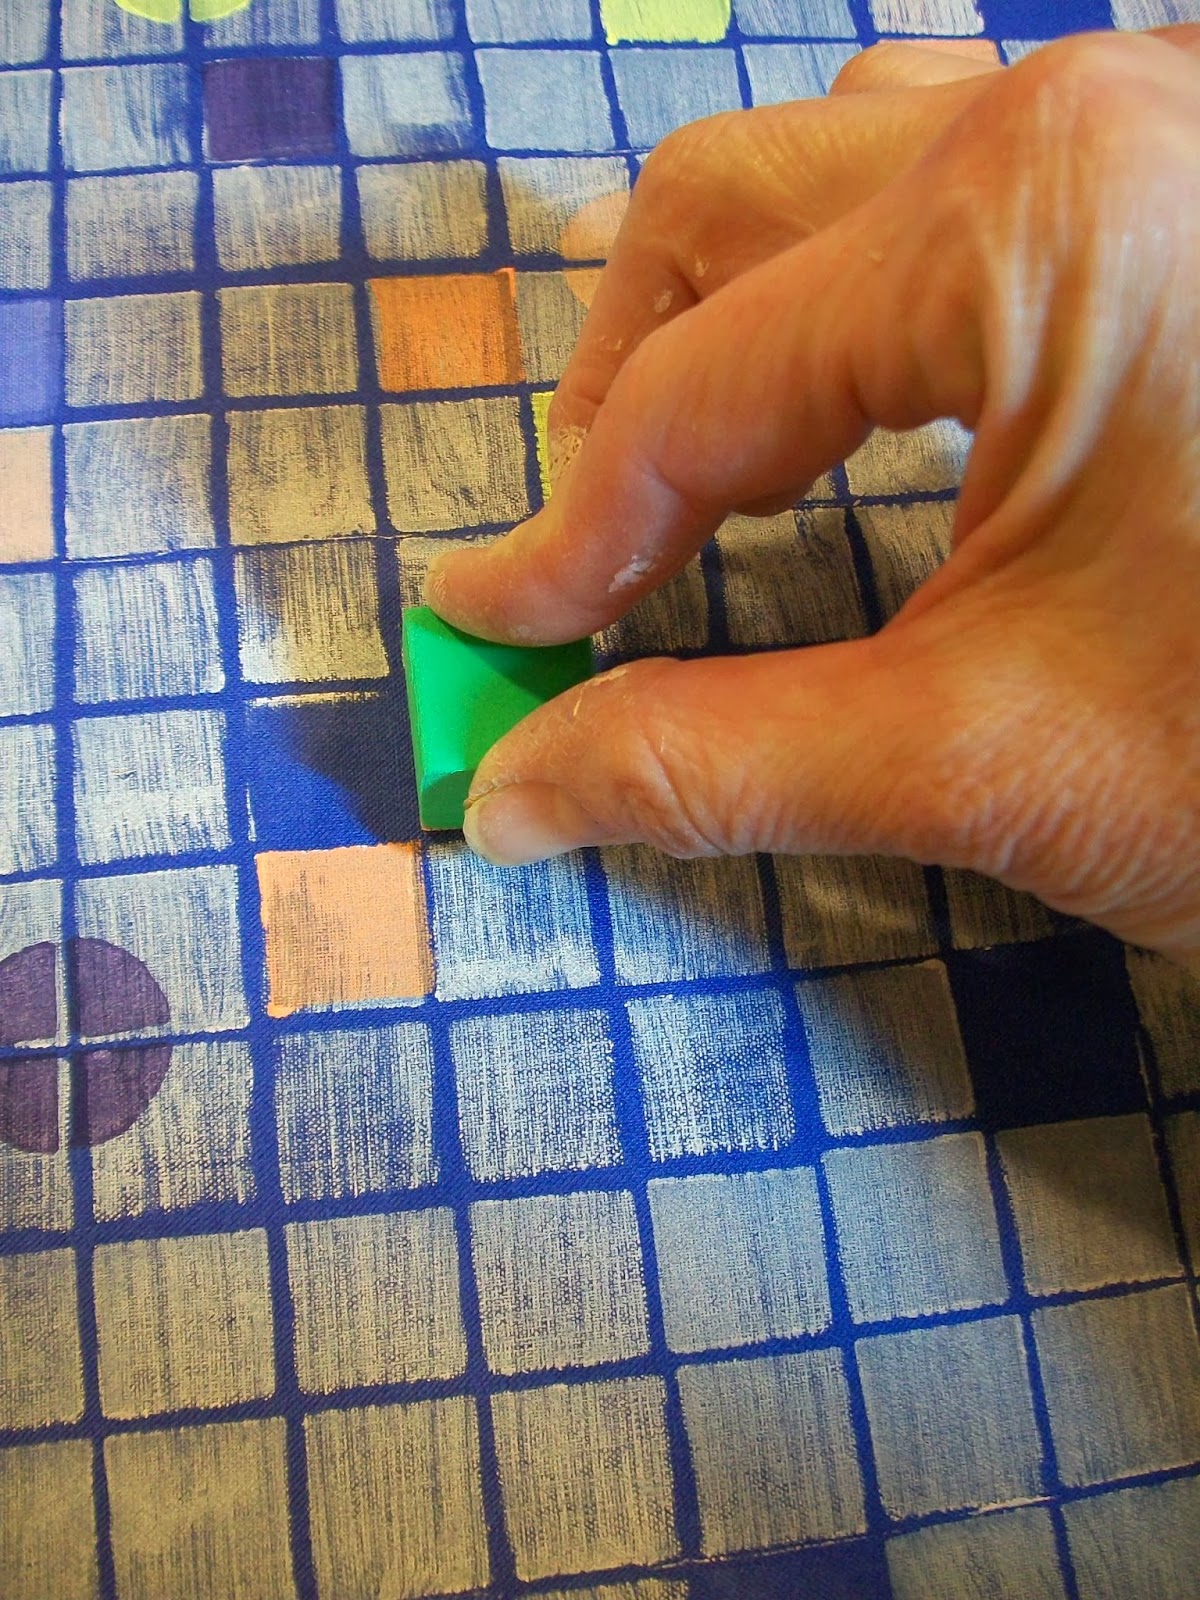
After some false starts, I decided to keep it simple this month. On one of my trips to the local dollar store I picked up these foam counting blocks. I found the foam marshmellows at my local Michael's craft store.


Many of the counting blocks were already attached looking like a set of tiles. I reinforced them with masking tape.


I wanted the circle design to overprint the tiles but look like it was actually part of the tile. I used my x-acto knife to cut a cross in the center to match up with the intersection of four tiles.


I used my favorite fabric paints, Pebeo Setacolor. To create the background color, I mixed two transparent colors: Cobalt Blue and Parma Violet and added water (ratio 1 part paint to 2 parts water).


This created a rich violet-blue which I painted on the fabric with a foam brush and then put aside to dry.


Next I mixed up a series of Pebeo Setacolor Opaque colors in cream, orange, yellow and violet. I decided to use a foam brush to apply paint in order to give the prints a bit of texture. I painted the taped counting blocks with the cream, occasionally leaving an unpainted square.The painted tile block was turned over onto the violet-blue background and pressed to release the paint.


After printing the entire background with square tiles, I went in with individual foam squares and the incised circle to overprint colors.


Here is the final 12" square piece for Lesley.


Now for the giveaway particulars...Leave a comment on Lesley's blog or over at The Printed Fabric Bee Facebook page under the picture of the Mosaic Fabric Giveaway. You have until March 15 to leave a comment. Lesley will draw a name and post the winner on her blog and on the FB page. It's really a colorful collection this month. Lots of Spring colors...do you think we're ready for Winter to end?!


Sunday, January 27, 2013

Learning from My Students

African Shields by Kathy R.

Yesterday, I taught another session of my workshop, African Influence: Textile Inspirations. In this class, students look at fabrics from Africa along with motifs from books and then create their own fabrics.

Assorted print blocks by Maria C.

Maria C.'s block sampler.

Kathy R.'s block sampler.

Sylvia A.'s block sampler.

I had three very three industrious students who were up for experimenting. I joked with my students that I always learn at least one new thing every time I teach. Well, this time I learned two things!

First, I managed to leave the bottle of Sienna Brown transparent fabric paint at home. No worries, we started experimenting with mixing up some browns from the paints we did have. It made me realize that I really have to plan a play date in the studio just for color mixing. I need to get out of my color rut and see all the various subtle color combinations I can mix. The great thing about needing to mix up browns is that the students showed no fear and started mixing up all sorts of interesting colors!

Kathy R. burlap and moldable foam blocks.

Maria C. with carved block.

Maria C. with moldable foam block.

Sylvia A. with carved and craft foam blocks.

I learned the second new thing, while I was demonstrating how to work with moldable foam print blocks. I like to show students that by laying objects of different depths onto soft upholstery foam, you can get all the different objects to emboss in the block. I decided to try an experiment by laying textured shelf liner down on the foam first and then some small pebbles and a piece of chain. To my surprise, all the textures embossed, including the shelf liner! This led the students to try their own experiments with designing with the shelf liner. Here are a couple of the fabrics created with this technique.

Kathy R. with moldable foam block.

Maria C with moldable foam block.

I was very pleased with how the day went. I feel energized to get back to experimenting!

Tuesday, August 14, 2012

Sun Printing in Maine


Today, we set out an old sheet, mixed up some Pebeo Setacolor Transparent fabric paints, spread out some silk scarves and canvas bags and started sun printing!

First we gathered some wild flowers and pine needles and put out our treasures from yesterday's trip to the beach.


Then we painted our scarves and bags...


And placed our finds on the wet paint.


The sun was HOT, but we were determined.


There were successes but the prints were very subtle.


Don't forget it's just two days until the Searching for Roy G Biv Challenge...this month it's GREEN!


Friday, July 6, 2012

Brayer Rubbings with Weeds


In addition to working on the yellow challenge fabric and fabrics for the hamsa piece, I decided to continue with fabrics for the Weed Maps.

I went out into the weed garden and found a vine with large leaves. My plan...to make at least one piece of fabric using these leaves to do brayer rubbings. A while back, I started experimenting with What Ifing with the weeds and brayer rubbings was one of the techniques that proved to be quite successful.

I arranged the leaves under the fabric with the more textured (veiny) back sides facing up. With my foam brayer, I rolled Pebeo Setacolor Opaque Fabric Paint over the top of the fabric using different colors to pick up the texture of the leaves.


I did two lengths of fabric. In the first one, I applied the paint too thick in some areas. I'm going to paint a dark color wash over that piece.


The second piece was more successful.


I plan to do more pieces using different weeds. I want to build a stash of these fabrics so I have lots of choices and possibilities for the final art pieces.

Saturday, June 30, 2012

Hamsa Redux


Remember this?

Remember my saying that I thought I liked it better than this?


I've decided to redo the hamsa piece for F.I.N.E.

The first thing I did was to enlarge it. It will now fill out most of the 12" square canvas.


I also decided that I would create three separate fabrics, back them each with a fusible, cut out the needed shapes and fuse them together. I want this piece to be bolder than my original concept.

Today, I worked on the orange fabric that will be used for the hamsa hand.

After a wash of color with Pebeo Setacolor Transparent Fabric Paint, I applied Pebeo Opaque Fabric Paint with a piece of scrunched plastic wrap.


I decided that I wanted to create a hot glue block with circular designs that would fit within the hand.


At first, I made one print with the hot glue block on the orange fabric. I used light orange Opaque paint. It was barely noticeable and very boring.


 I then decided to print the fabric with the block multiple times, changing the orientation of the block as well as printing it in two different shades of orange.

This is how it came out.

Orange fabric detail

Definitely much more interesting!

Tomorrow, I work on the other fabrics.


Monday, June 4, 2012

What If-ing Weeds Part 2


Yesterday, played with printing some weeds from my garden... doing a lot of what if-ing. In yesterday's post, I showed some of the results using Opaque Pebeo Setacolor Fabric Paint.

I also experimented with diluted Transparent Pebeo Setacolor Fabric Paint. I worked with a dilution of about 1 part paint to 1.5 parts water.

First, I just painted directly on the back (veiny) side of the weed with the large leaf; placed it on a piece of Prepared for Dyeing cotton and pressed to release the paint.


I also tried printing a leaf on some white felt.


Next, I decided to paint both sides of the leaf.


I made a sandwich...bottom layer of Habotai silk, second layer of PFD cotton, then the painted leaf with the veiny side down and finally another piece of PFD cotton on top. I used my hands to press down on all the layers. Here are the results.
Top piece of PFD cotton that picked up the paint from the top of the leaf.
Layer of PFD cotton directly under leaf picked up the paint from the bottom of the leaf.
Silk under the cotton picked up residual paint.

I noticed that the small veins of the leaf had absorbed some transparent paint so I placed the leaf down on another piece of PFD cotton and rolled over the leaf with my foam brayer.


I also tried working with the Velcro weed. I painted both sides, placed it on a piece of PFD cotton and folded some of the cotton over to get two prints at the same time. I did this a few times.


I can see that there are a lot of possibilities. I'm planning to take a large piece of fabric, a plastic drop cloth and my paints out to the garden to do some plein air printing. Who knows where this is leading exactly...just gotta keep what if-ing...