Thursday, February 23, 2017

Fabric Stash Cloth Book Workshop March 4

Page spread showing hand-dyed doily over a page made from a Japanese silk print overlaid with hand-painted cheesecloth and netting.

Hi there-
I'm taking a little "promotional" break from the Hand Stitching Continued blog posts to let you know about a new workshop that's coming up on March 4 at Artistic Artifacts in Alexandria, VA.

Cover made with Indigo-dyed checked fabric. I sandwiched two layers of sheers and some cheesecloth, cutting away to reveal the layers.

The workshop is called, Fabric Stash Cloth Book. It's an opportunity to play with your (possibly growing) fabric stash to create a little cloth book using a very simple stitched binding.

Some dyed lace. The book page peeking through!
This page made with a Japanese shibori silk, and Sari ribbon (fabric strips). I sandwiched a sheer pink and then carefully cut away to reveal the backing fabric. Lots of Running stitch to distort the fabric.

I made my first book after receiving a little Japanese fabric sample book from my friend Mary who is now living in Japan. That inspired me and became the impetus for my annual summer family art project. That project, in turn, inspired this workshop.

Japanese silk fabric with cheese cloth and netting.

For my sample book, I decided to play with layering...literally sandwiching fabrics and then cutting away to reveal some of the layers. I had a great time experimenting with some of the sheer and netted fabrics in my stash. I also decided to play with some of the Inspiration Packs (the new Indigo ones!) from Artistic Artifacts along with their Sari Silk ribbon and some of the variegated threads from their AMAZING Wonder-Fil Perle Cottons.

An insert of painted cheesecloth overlaying the page below.
Pulling back the painted cheesecloth to reveal the page below.
Again I sandwiched sheers between layers. This time did a turned-edge reverse applique and also stuffed some areas.

The great thing about this technique is that you can also add lace or cheesecloth and have interesting overlays between pages.  I really think that there is SO MUCH potential in the creation of these little books...

This is the back side of the previous page. I did a little cutting away on this side too.

If you are local to the shop (or within driving distance), I hope that you'll sign up! If you don't think you have an adequate stash...no problem! I'll be bringing my bag of fabric scraps and Artistic Artifacts is just brimming with gorgeous fabrics, lace, thread and other luscious goodies!

Back cover. Notice a bit of cheesecloth peeking out!

Hope to see you on the 4th!

Monday, February 20, 2017

Hand Stitching Continued: Surface and Structure Part 3: Buttonhole and Needle Weaving

Alice A.: Netting and needle woven stitches.

After experimenting with the basic stitches learned in Hand Stitching (see this blog post), I introduced some textural stitches into the mix. These stitches fell into two categories: variations of Buttonhole stitch and needle woven stitches over "laid" or warp threads. All these stitches are worked on top of the fabric's surface and could be considered another overlay of texture. Students found the Knotted Buttonhole Netting the most challenging, but with practice, felt more confident about the possibilities of the stitch.

Ann Z.: Netting and needle woven sampler.
Ann Z.: Netting and textural stitches inspired by her muse.
Jan B.: Buttonhole rings.
Jan B.: Buttonhole rings
Jodie F.: Netting and needle weaving inspired by her muse.
Marine W.: Needle weaving
Marine W.: Needle weaving detail.
Peggy G.: Buttonhole and needle weaving sampler.
Susan G.: Nightscape with some needle weaving and Buttonhole details.

Next post: Fabric manipulation with stitch.

Susan P.: Challenge using warp threads and needleweaving.

Susan P.: Detail.
Enrollment for the spring session of Jumpstart in Hand Stitching (3 evening sessions) and Hand Stitching Continued (7 evening sessions) is now ongoing. If you live in the Washington, DC area, considering joining me!

Sunday, February 19, 2017

Hand Stitching Continued: Surface and Structure Part 2: Layering Stitches

Jodie F.: Challenge detail.


While the painted backgrounds (see this post) were drying, students started on their first Stitching Challenge. I listed the stitches we covered in the Hand Stitching class and challenged students to combine and layer them in new ways...again referencing their nature "muses".

Jodie F.: Challenge: Layering stitches.

Jodie F.: Layering stitches.
Jan B.: Challenge: Layering stitches.
Jan B.: Inspired by her "muse".
Marine W.: Layering stitches.
Marine W.: Inspired by her muse...a geode.
Marine W.: Challenge detail.
Peggy G.: Challenge: Layering stitches.
Peggy G.: Inspired by her muse.
Alice A.: Challenge: Layering stitches. Alice told a story about growing up surrounded by farmland and how the fields change throughout the seasons. This piece "mapped" the seasons in the fields.
Alice A. : Challenge detail.
Ann Z. : Challenge: Layering stitches.
Susan G.: Challenge: Layering stitches.
Susan G.: Inspired by her muse.
Susan P.: Challenge: Layering stitches.

Working with even the most basic stitches continues to intrigue and inspire me. There are so many possible ways to change and distort stitches and then add to that the many ways of combining them with each other!

Next post: Buttonhole variations and needle weaving.


Enrollment for the spring session of Jumpstart in Hand Stitching (3 evening sessions) and Hand Stitching Continued (7 evening sessions) is now ongoing. If you live in the Washington, DC area, considering joining me!

Saturday, February 18, 2017

Hand Stitching Continued: Surface and Structure Part 1- Painted Backgrounds

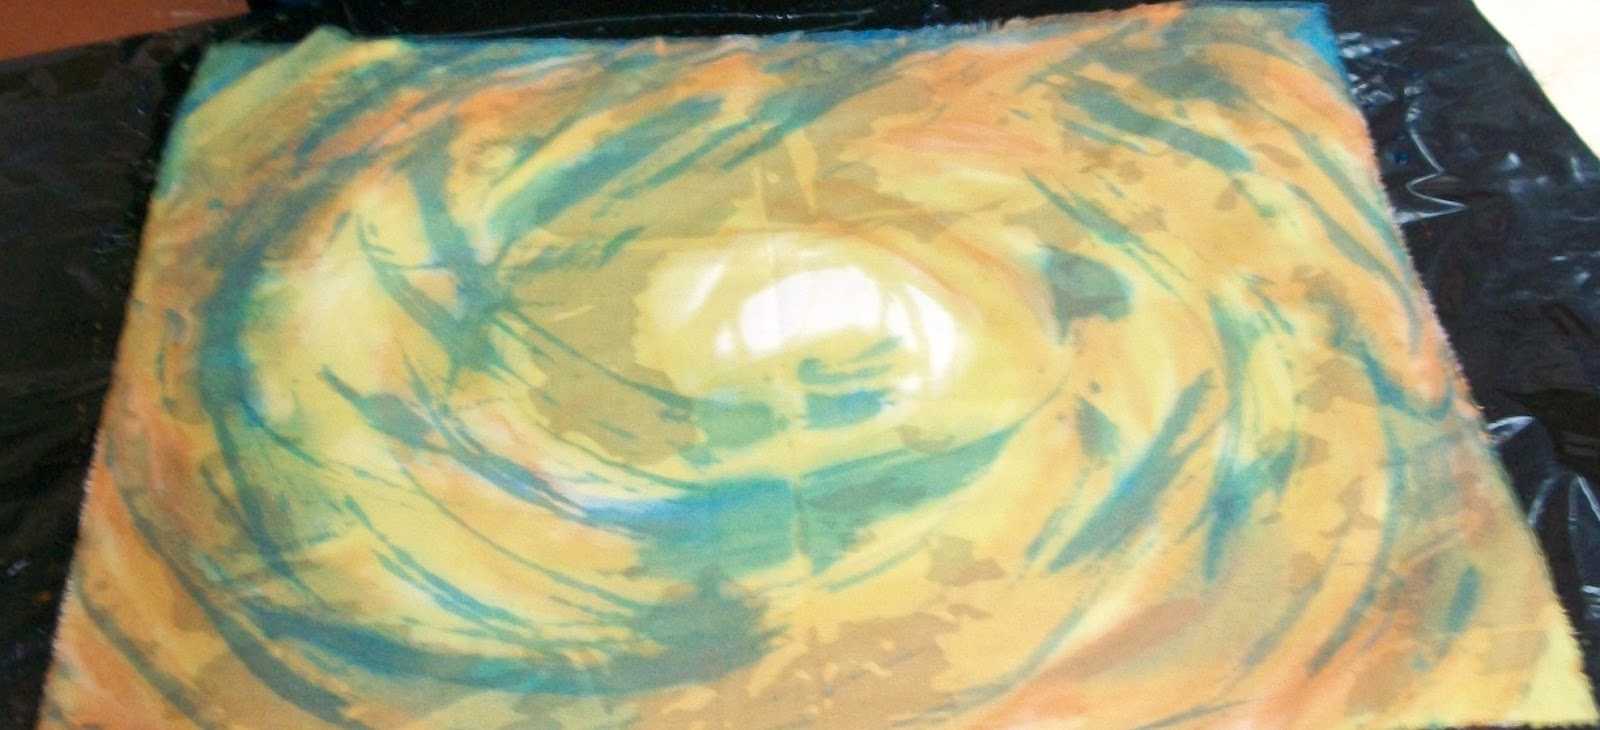
Jan B.: Bound resist on silk
Jan B.: Unbinding the resist.
This week was the last session of my new class, Hand Stitching Continued: Surface and Structure. This 5-session class was a continuing exploration of hand stitching for students who took my multi-session Hand Stitching class or my Jumpstart in Hand Stitching workshop. In the Continued class, each student chose a "muse" from nature as a starting point. The "muse" informed color choices, use of stitches and how students approached new techniques. The goal was to create more textured surfaces with stitch, learn fabric manipulation techniques and culminated in the creation of small free-standing sculptures.

Ann Z.

Over the next few blog posts, I plan to share the results. As usual, I was blown away by my students' work!

Ann Z.

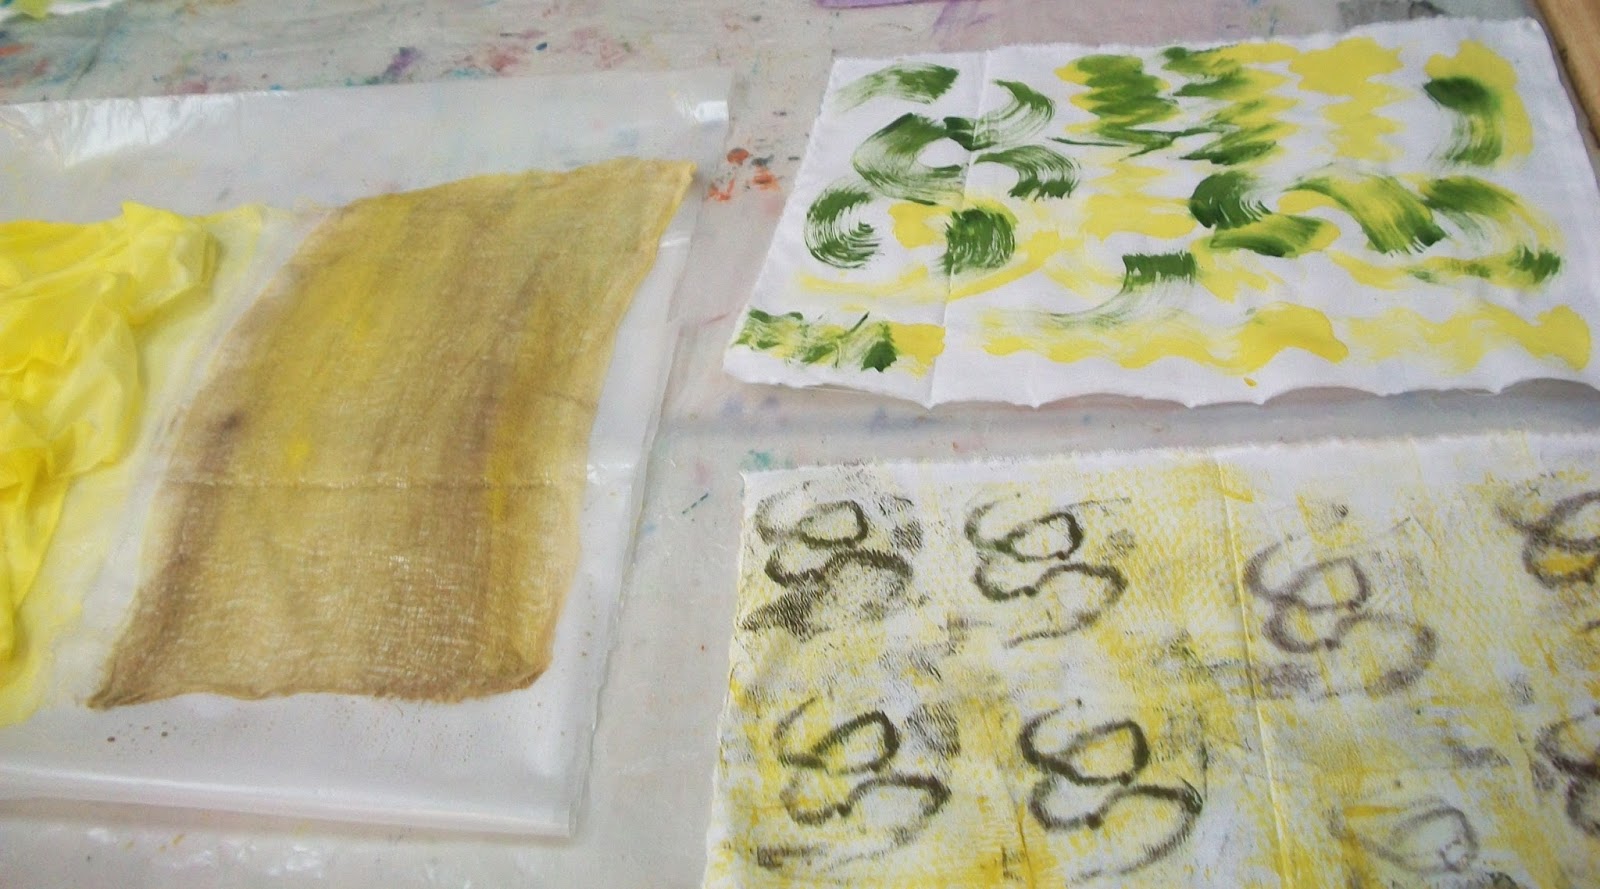
The first session focused on color. In the Hand Stitching class, I limited the palette to black, white and gray with the eventual addition of a couple of colors. I knew that I wanted to open things up a bit color-wise in the Continued class. Students experimented with  color mixing fabric paint using just one or two base colors and black and white. I wanted them to see the wide range of color that can be achieved even within those parameters. Students also designed some hot glue blocks using their muse for inspiration. The resulting fabrics were used for subsequent stitching assignments.

Marine W.
Marine W. : Monoprint.
Susan P. : Hot glue block print over painted fabric.
Fabrics drying before adding printing.

Next blog post: Layering stitches.

Ann Z. : Hot glue print block and painting.
Fabrics by Sarah H. and Jodie F.
Alice A.
Susan G: Monoprint over texture prints.

Enrollment for the spring session of Jumpstart in Hand Stitching (3 evening sessions) and Hand Stitching Continued (7 evening sessions) is now ongoing. If you live in the Washington, DC area, considering joining me!