 |
| Orange hamsa after adding another layer of transparent paint |
It's almost 11:00 PM and I wanted to get a post up on the blog about progress on the Hamsa project. I got a lot accomplished today but I've decided to break it down into parts, so here goes part one.
I started out by painting another layer of transparent paint to both the hands and oval backgrounds.
 |
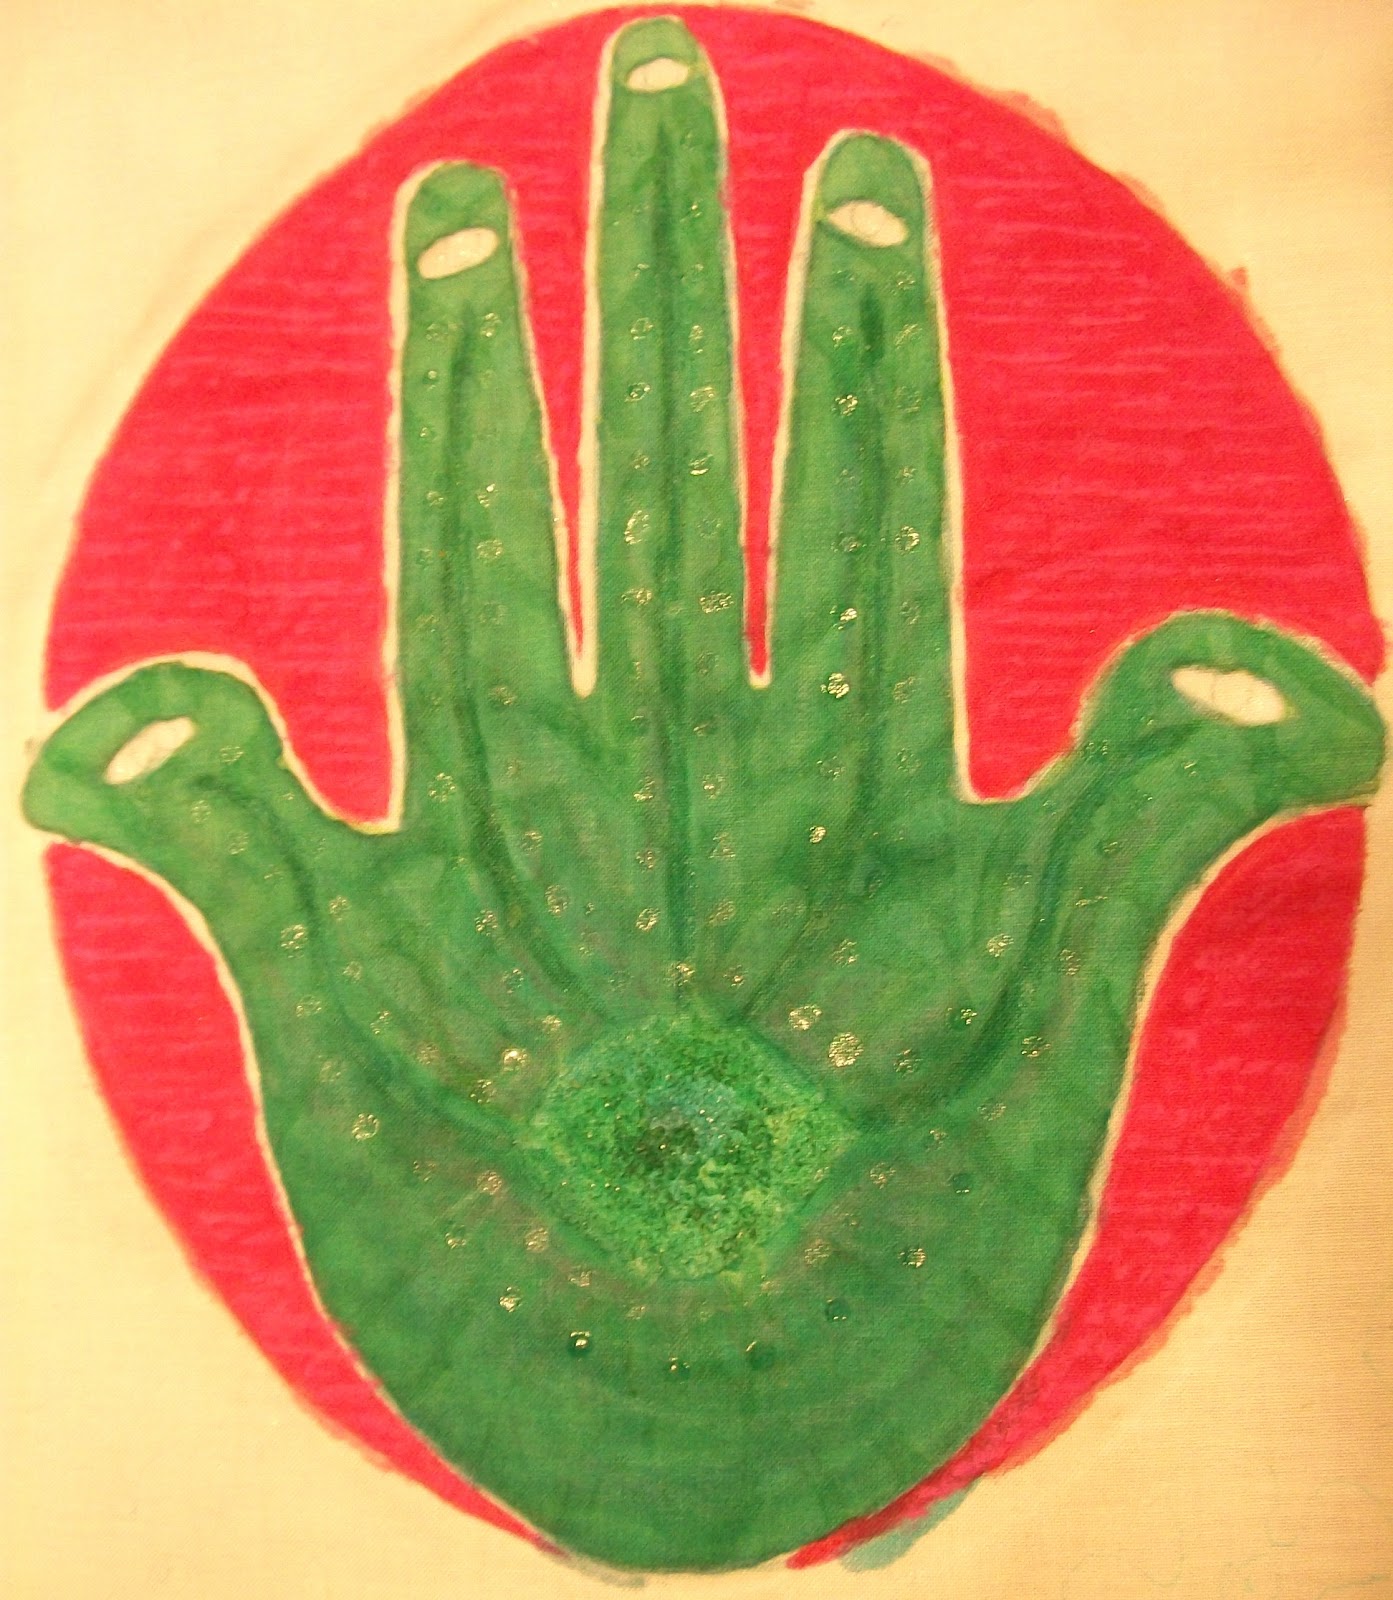
| Turquoise hamsa after adding another layer of transparent paint |
I then added more glue using a "detailer" which is a small plastic bottle with a precision tip.
 |
| Orange hamsa after applying more glue with the detailer |
 |
| Turquoise hamsa after adding more glue with the detailer |
After the glue dried, I used the Pentel dye pastels to add more layers of color to the orange hamsa and its background.
 |
| Drawing with the dye pastels |
I also added some color to the oval background of the turquoise hamsa. I did this by slipping a texture block under the fabric and rubbing the pastels over the fabric to pick up the design.
 |
| Rubbing on fuchsia background using pastels |
I set the pastels with an iron. I am now ready to move on to the next step which is printing with opaque fabric paint. I'll go into that in part two.
 |
| After the pastels have been set |
 |
| The pastels have been set. Time to move on to opaque fabric paint |
No comments:
Post a Comment