 |
| Orange Hamsa after printing but before removing all the freezer paper masks |
Yesterday, I worked on printing the Hamsa hands and removing all the layers of blue glue gel. Below, I show the steps on the orange Hamsa.
I first had to mask the oval areas behind the hands with freezer paper.
 |
| Positioning the freezer paper mask |
 |
| Ironing on the freezer paper mask |
 |
| The freezer paper mask is now attached and I'm ready to print |
I then mixed up a deep orange paint and printed with a moldable foam print block.
 |
| Rolling out the opaque paint to apply to the print block |
 |
| Printing with the block |
I decided to add a little more color with one of the Pentel pastel dye sticks.

This is what the Hamsas looked like after removing the freezer paper masks but before removing the glue.


I then had to set the paint and pastel using an iron.
 |
| I used parchment paper while heat setting the fabric to protect the iron |
After the fabric was set, I put it in a plastic container that fits in my kitchen sink. I added some Dawn dish washing liquid and very hot water.

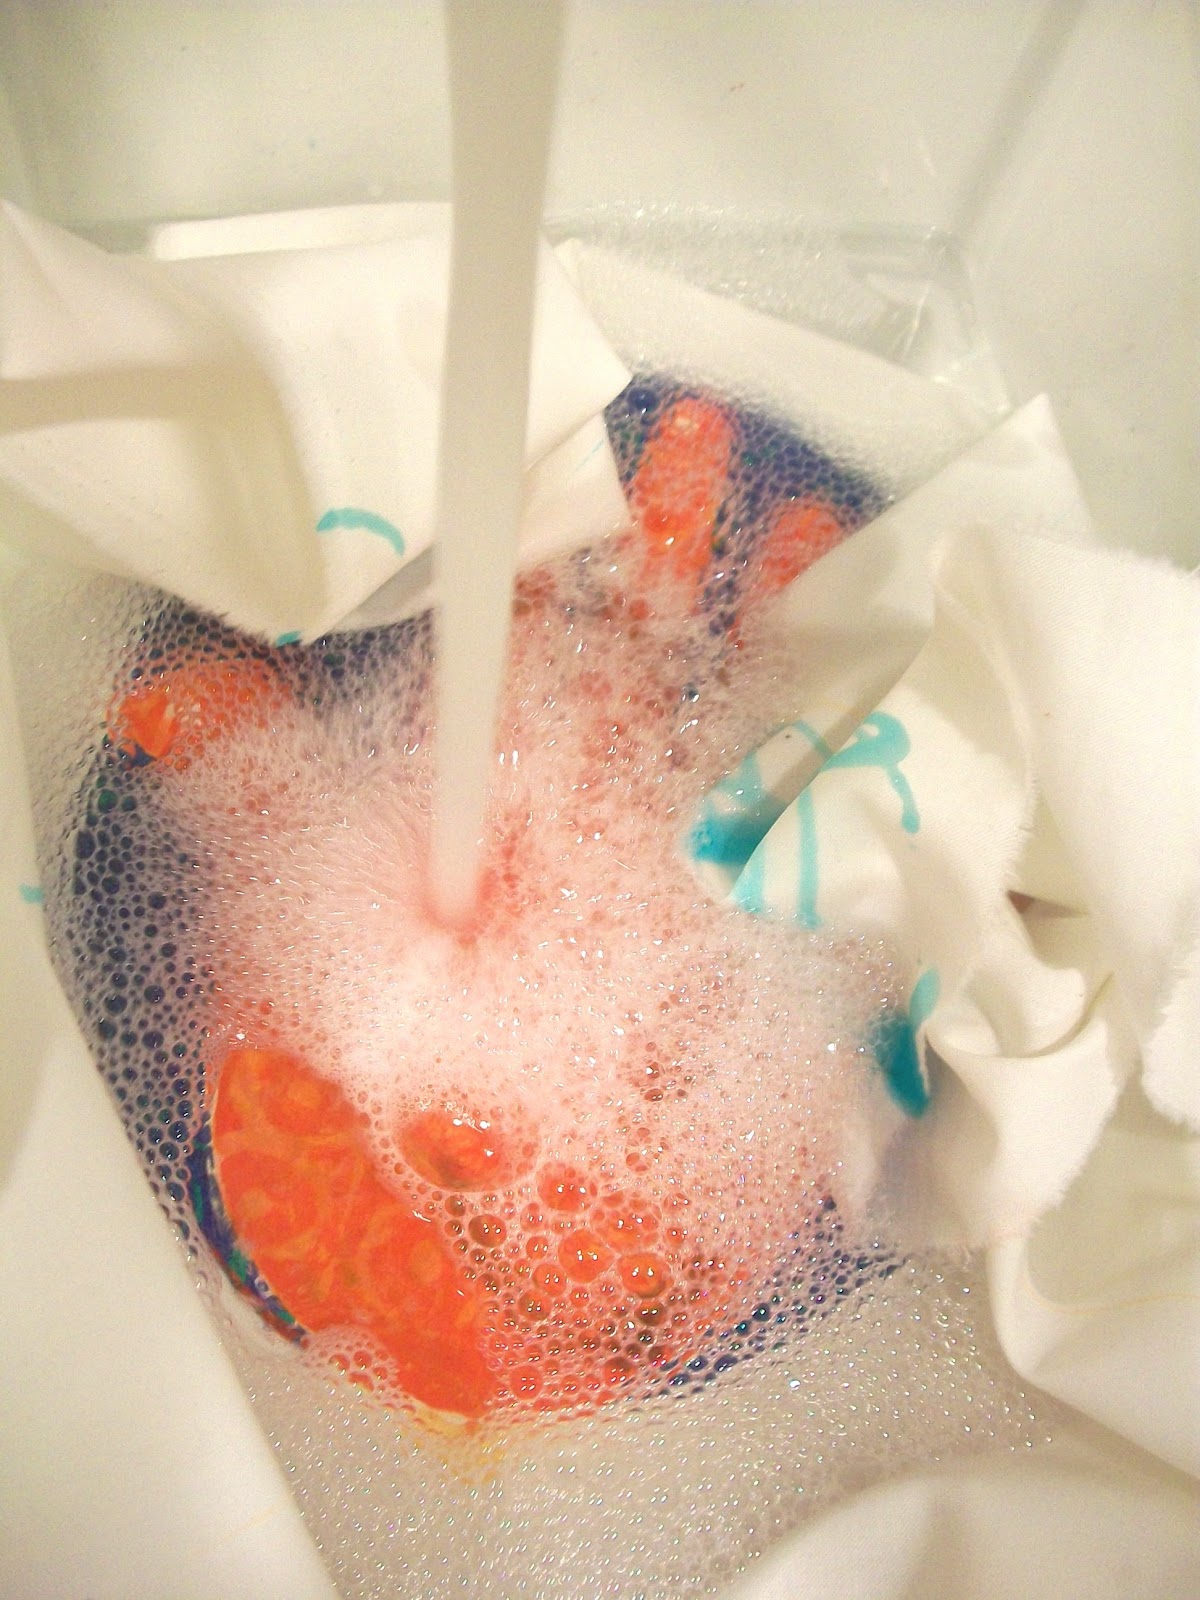
I let the fabric soak for 10 minutes. I used my fingernails to scrape off some of the glue. I also rubbed the fabric together to help remove more glue. Once all the glue was removed, I put it in my washing machine in a warm water delicate cycle wash.
This is how the Hamsas came out.


I have to admit that I actually liked the brighter, more graphic look of the Hamsas in the stage right before I washed the blue glue gel out of the fabric. Once the glue was removed, the Hamsas had a softer, more toned down look. I noticed that some of the color details from the pastels were completely lost.
I had planned to eventually add stitched details to the Hamsas which could "revive" them a bit. I now have to make a decision...do I continue with these pieces or attempt to do another set that does not utilize the blue glue gel as a resist. I will have to contemplate this a bit.
No comments:
Post a Comment