Showing posts with label surface design. Show all posts

Sunday, August 30, 2020

Hand Stitching ONLINE: Theme #3: Texture

Please join me for the Fall 2020 Hand Stitching class! Five 2.5 hour sessions (10:00 AM - 3:30 PM eastern US time) starting on Wednesday, September 30. For more information and to register: https://www.theartleague.org/shop/class/online/hand-stitching/

Jude J: Texture Stitch Challenge

Texture was the theme for class #3 in the Spring session of Hand Stitching ONLINE (offered through The Art League School). Discussion focused on the concepts of Actual Texture (texture you can touch) versus Visual Texture (the representation of texture using marks) in art. Marks made with hand stitching can cover both categories as seen above in Jude J.'s piece. The marks created with stitch are representative of a nest or fur (visually) but one could also feel the actual texture of the raised stitches on the fabric's surface.

Barbara B. Texture Stitch Sampler

Another topic discussed was that of Stitch Density. Dense areas of stitching are more effective when surrounded by areas of less dense stitching.

Barbara B. Texture Stitch Challenge

In this class session, students were also challenged to create a "new" stitch by combining stitches covered in the first three sessions. Jill B. met the challenge and even drew these beautiful illustrations! 

"New" stitches by Jill B.

Sampler of "new" stitches by Jill B.

I continue to be inspired by watching my students explore each class theme. I hope you enjoy viewing their work with a focus on Texture.

Jill B.: Texture Stitch Challenge


Carolyn L.: Texture Stitch Sampler


Irene C.: Texture Stitch Sampler

Kristin A.: Texture Stitch Challenge

Judy P.: Texture Stitch Challenge using commercial fabric


Martha P.: Texture Stitch Challenge


Myania M.: Texture Stitch Challenge

Roberta A.: Texture Stitch Challenge

Sherry W.: Texture Stitch Sampler

Susan T.: Texture Stitch Challenge using hand painted fabric.

Susan T.: Texture Stitch Challenge using hand painted fabric


Tuesday, August 25, 2015

September is Right Around the Corner...Time for Some Classes!

Virginia O.

Summer is coming to an end here in Northern Virginia...and it's just about time for my September workshops and classes to begin...Here is a "sneak peak"! Hope you can join me for a class or two!

Zita S.

September 5 & 6: Patching, Stitching, Weaving: Creating Healing Cloth. This workshop is “near and dear” to my heart! Students create an appliquéd and stitched “healing” cloth. The results from past sessions of this workshop have been very powerful. It’s a great workshop to take if you are in transition, in need of healing or would like to dedicate a piece to someone in need of healing. For more information and to register go here.  

Here is a blog post about the last session of this workshop.
________________________________________________________________
Wendy S. (Background fabrics made on Day #1 of class)

September 19 & 20: Fabric Printing at Home: A Kitchen Sampler. This 2-day workshop is packed with fabric painting, printing and stitching techniques using materials you can find in your home and in particular your kitchen. On Day #1 we’ll be painting and printing fabrics using techniques from my new book, Fabric Printing at Home. On Day #2 we’ll turn some of those fabrics into a small hand-stitched wall hanging. This is a great workshop whether you are just dipping your toe into the surface design waters or have experience. Lots of great information about recycling and “upcycling” household materials to make print blocks, stencils and fabric resists! For more information and to register go here

Here is a blog post featuring some of the fabrics from Day #1 of the previous session of this workshop.
________________________________________________________________

Avital O.
September 30 – November 4: Fabric Resists Using Common Household Materials. Come join me for five sessions of exploring fabric resists using materials you can find in your kitchen. Each week I’ll feature a new category of resists…from cooked baking powder to gelatin! Learn different application techniques and discover the different characteristics of each resist. No prior experience is necessary…just a playful attitude and a willingness to get a little messy! For more information and to register go here.

Here is a blog post featuring some of the sampler fabrics from the previous session of this class.
_________________________________________________________________
Susan P.
September 30 – November 18: To Tell a Story with Cloth. Everyone has a story to tell…even if you don’t know what that story is just yet! In this seven session evening class, we’ll cover all sorts of surface design on fabric techniques…painting, relief printing, gelatin monoprinting, found object printing, brayer rubbings, and fabric resists. You’ll design and create your own original fabrics and then add stitching and appliqué to create your story. Your story may take the form of one or many stitched wall hangings, a cloth book…or a brand new form! Past students have raved about how fulfilling and enlightening creating stories with cloth can be. For more information and to register go here

For blog posts featuring stories from past sessions of this class go here, here and here.  


Saturday, June 6, 2015

Spring Surface Design-- Wrapping Up

"Twiggy" by Janelle F.

The spring session of my surface design class wrapped up this week. I gave you a look at some of the work produced in class, here. I thought you'd like to see a few more photos of work from the final class.

One of the techniques I show students is how to take a high contrast photograph and turn it into a design for a carved print block. It's a step-by-step process and I talk about how it's possible to produce the "grey values" of a photo by carving different textures or line weights in the final block design. Janelle took on this challenge using a photo of the model, Twiggy. I love all the iterations of prints...very Andy Warhol!

"Twiggy" by Janelle F.

On the last night of class, I gave a Shiva Paintstiks demo. Here is what Janelle did using a cut freezer paper mask.

Janelle F.: Paintstiks and freezer paper mask

Lissette used Paintstiks to add details to some of the fabrics she created using resists. She slipped texture plates under the fabrics and made rubbings.

Lissette V.: Paintstik details on top of flour paste resist fabric.
Lissette V.: Paintstik details on top of glue stick resist fabric.

Amy continued to work on one of her stitched pieces about her trip to Israel. She added painted lace to the water section of this piece. I think this works really well...I'm reminded of light bouncing off  water.

Amy L.
In this close up you can see the dimensional applique treatment of the water.

Amy also brought in the piece that she started at the May Stitch-In. She completed it and will be giving it to her sister. The piece shows the two of them as youngsters on a tree swing together (I'm in love with this piece!).

Amy L.: Sisters swinging.

All in all.. a great group to teach! Hope to see some of you in a future class!

Thursday, May 28, 2015

Spring Surface Design..A Little Review

Lissette V.: Gelatin print.

Since April, I've been juggling back-to-back classes on Wednesdays. I really love teaching both classes...Fabric Painting, Printing and Stitching to Tell a Story with Cloth (aka Story Cloth) and Fabric Painting and Printing: Surface Design. There were moments when I had to think really hard about what each class was working on before packing up my things. There was some overlap in techniques but not necessarily on the same day...a bit of a challenge for my fifty something brain!
I've already posted about the Story Cloth class, but not a peep or a peek about the Surface Design class. So today I'm sharing a bit what's been happening with hopes to have another post about it next week.

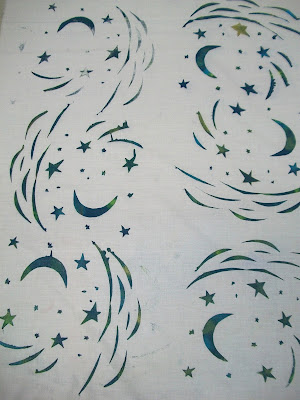
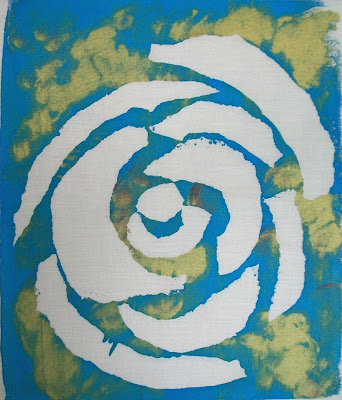
Two weeks ago, the class did some "Improvisational Screen Printing" (Jane Dunnewold's phrase) using freezer paper masks and something I've come up with using Lutradur stencils (based on Jane's interfacing stencil technique). Here are some results:
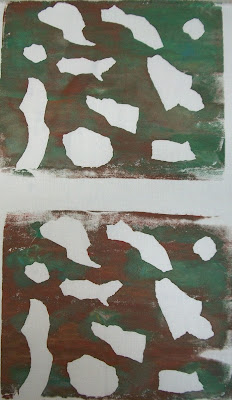
Amy L.: Torn freezer paper mask.
Lissette V.: Cut freezer mask.
Lissette V.: Torn freezer paper mask.

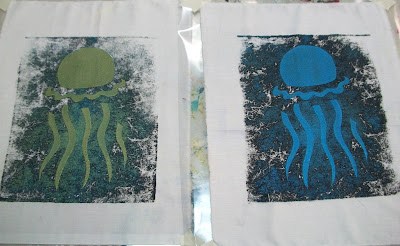
The fun part about using the Lutradur is that the material catches and holds the paint from the previous printing so the open areas and those areas covered with Lutradur print different colors at the same time. The texture of the Lutradur adds another layer of interest.
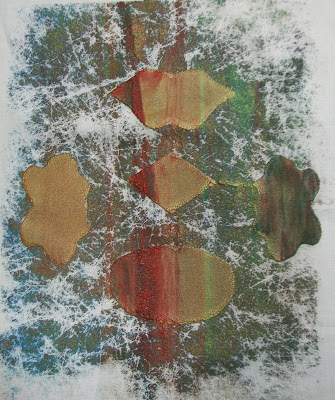
Sumita S.: Lutradur stencil.
Janelle F.: Lutradur stencil.

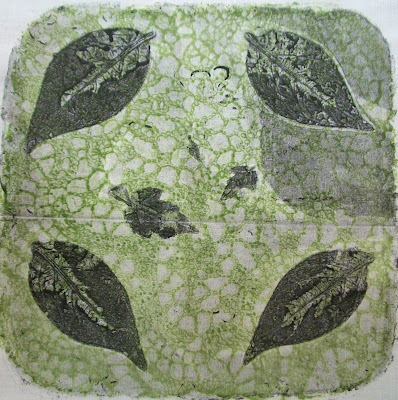
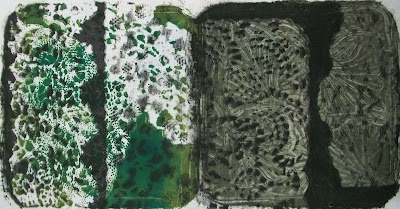
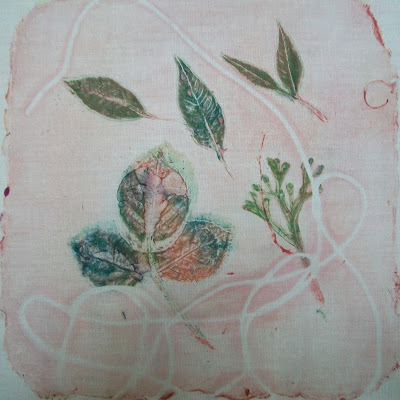
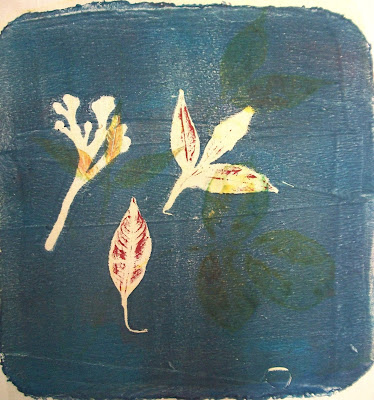
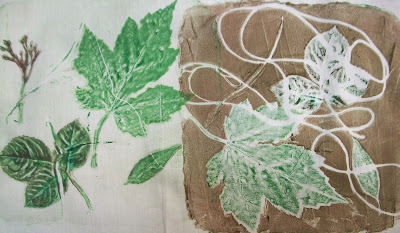
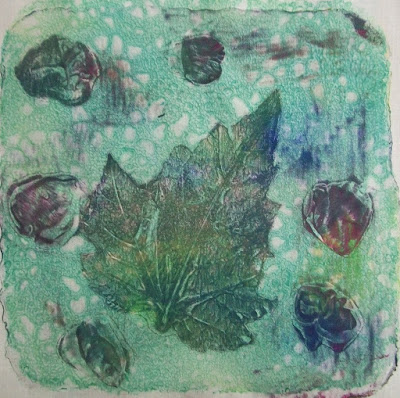
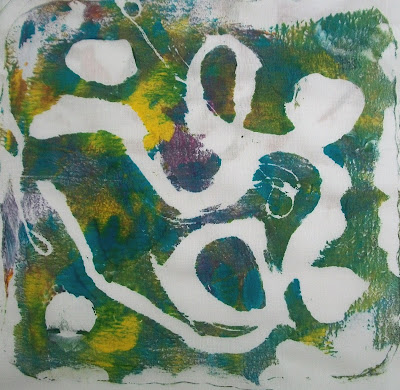
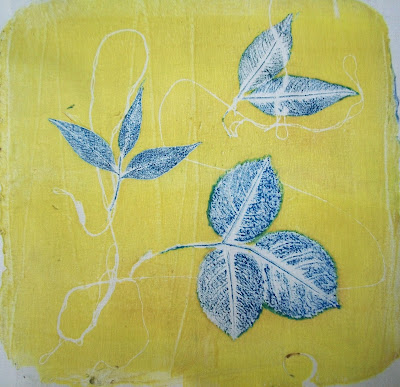
Last night, we had one of my favorite sessions...gelatin plate printing! I haven't yet become a convert to the Gelli Plate (though I do want to buy one)...I just love the sensual feeling of that soft, cool gelatin! And...as usual, I was not disappointed by the results! I love how each student's personal style seems to emerge...even if it's just printing leaves and lace!
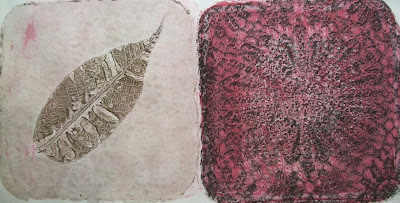
Janelle F.
Janelle F.
Janelle F.
Lissette V.
Lissette V.
Lissette V.
Sumita S.
Sumita S.
Sumita S.

I hope to get some photos next week of the other techniques we've been covering including block printing and resists.

I have one returning student, Amy L. who is using this class as an independent study. Amy took the fall session of the Story Cloth class and decided to continue working on additional pieces, focusing on her recent trip to Israel. Here is one of her completed pieces.
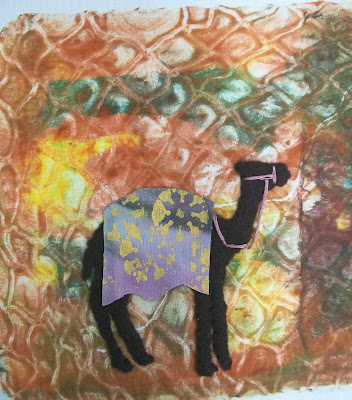
Camel by Amy L.

She also brought in a sweet, little Meditation Book she printed and stitched between sessions. Here are a selection of pages...


Amy is moving to London this summer...I will miss her! I'm sure that she'll continue to have lots of surface design and stitching adventures there.