Showing posts with label mola. Show all posts

Tuesday, March 29, 2016

A Year of Stitch-ins

Ann Z.'s Healing Cloth detail.

This past Sunday marked the one-year anniversary of the Stitch-In! It's been such a warm and sharing community and I look forward to getting together each month.

One year of stitching together!

We met on Easter Sunday (because I'd been teaching all the previous weekends)...so we had a small group. But what fun to sit and stitch and share ideas and books.

And what a small world we live in! It turns out that new Stitch-In member, Amy P. created the ketubah (Jewish marriage contract...often a work of art) for Cheryl C.'s wedding! The chat between the two of them revealed lots of connections...including the fact that Cheryl is designing the new playground for Amy's son's school!

Amy brought in an old hand-stitched pillowcase created by her grandmother. The case had a bad stain so Amy is re-purposing it to become an Afikomen (Matzoh) cover. What a great idea for creating a new family heirloom out of an old one!

Amy P. is turning this into a new heirloom.

Amy also brought in a fish mola to share with the group. Aren't those colorful layers wonderful!


Cheryl spent the afternoon practicing her Fly Stitch, she wants to use the stitch to add roots to the tree in her Healing Cloth.

Cheryl practiced Fly Stitch this month.

Cheryl also brought in a special surprise for Ann Z....a sweet little knit (Easter) bunny. The bunny was knit by Cheryl's aunt many years ago...and Cheryl decided to add the special details to give this bunny lots of character!

Happy Easter!

A special congrats to Cheryl for landing a book contract!

Ann Z. continued to work on the Healing Cloth that she started in the workshop I gave the weekend before. I love where this piece is going.

Ann's Healing Cloth in process.

Ann had a number of interesting books to share with us. One of the best parts of getting together is that we all share a love for beautiful art and craft books.


I forgot to take photos of what I was working on..the covers for my stitch sampler book.
Here are some recent shots I took while sitting outside on a gorgeous (but windy) Thursday.

Detail of inside back cover.
Outside back cover.
Looking forward to many more Stitch-Ins!


Wednesday, April 15, 2015

And the Winner is...


...Barbara Woods!

Congrats, Barbara! Please email me with your mailing address (threadborn@cox.net) and I'll send off the mola-inspired fabric collection from The Printed Fabric Bee.

Hope that these fabrics inspire you and that you let us know what you end up creating with them.

Tuesday, April 14, 2015

Mola-licious! Last chance to enter to win the giveaway!


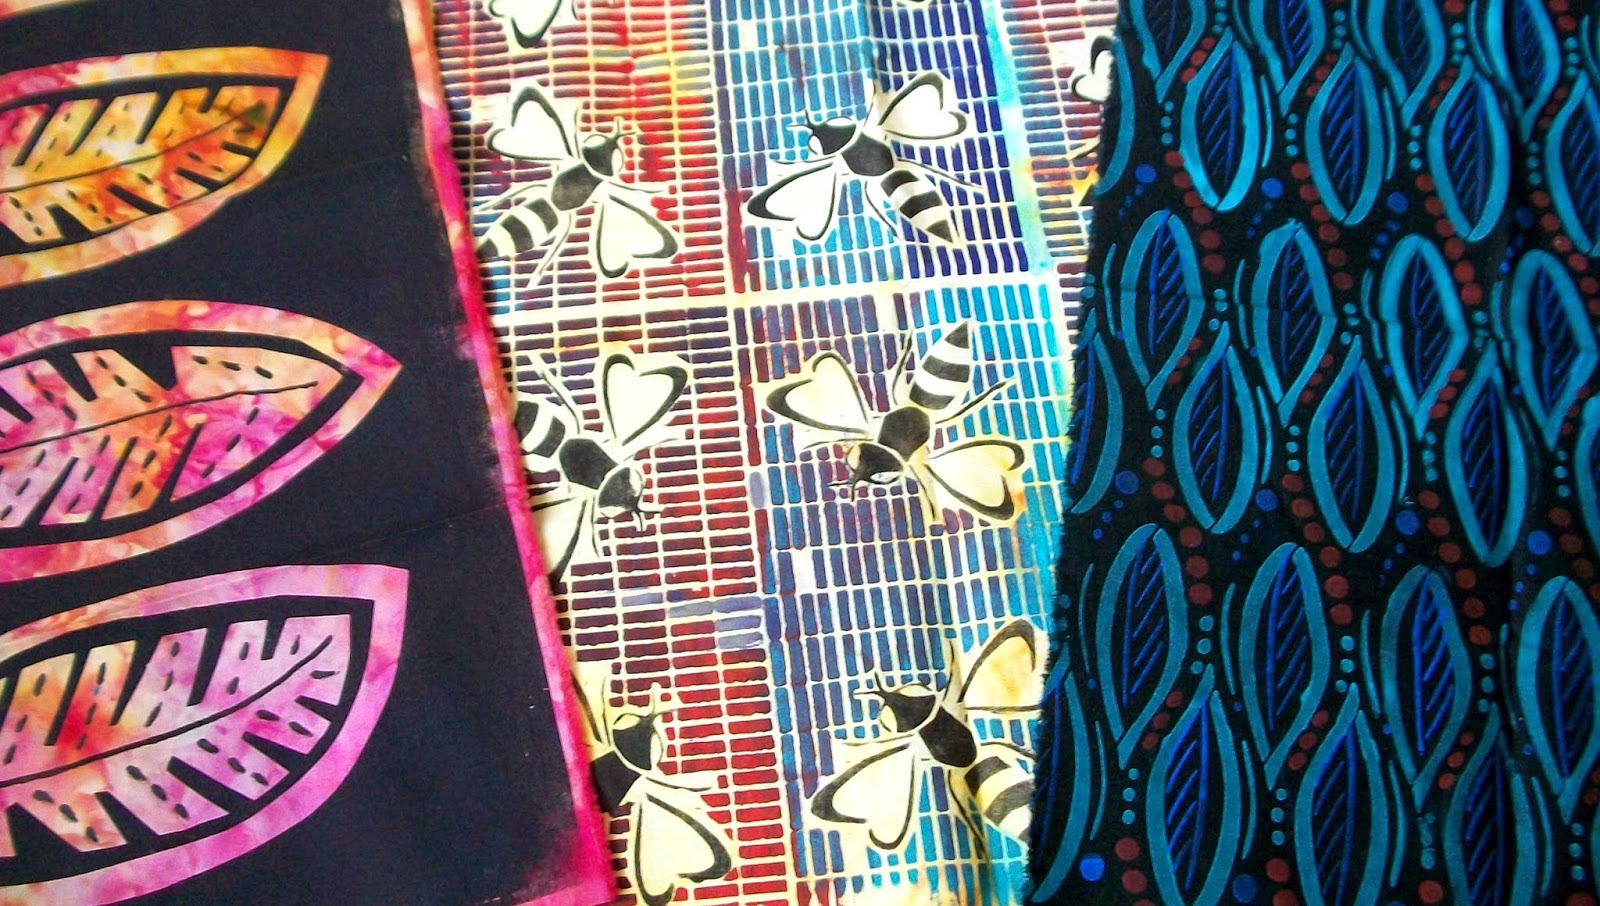
What a treat to receive packages full of mola-licious fabrics! In case you are scratching your head, I was Queen of The Printed Fabric Bee for the month of March. My theme was molas...the colorful layered reverse applique designs created by the Kuna women of the San Blas Islands (Panama).

I've been drooling over the results! I love how the fabrics seem to complement each other...Great job Bee members!

Today is the last chance for you to leave a comment on my April 2nd post or on The Printed Fabric Bee blog, in order to have your name included in the giveaway drawing for 6" versions of these and additional fabrics. I'll be announcing the winner tomorrow. Good luck!

Thursday, April 2, 2015

The Printed Fabric Bee Giveaway: Molas!


It's time, once again, for The Printed Fabric Bee Giveaway. For those of you unfamiliar with The Printed Fabric Bee, we are a group of 12 surface design enthusiasts. Each month, one member is designated the Queen. The Queen gets to select a theme and colors for her fabric collection and the rest of the members get to work. The result is an original and eclectic collection of fabrics. And since we like to spread the fun around, each month we put together a collection of 6" square versions of the fabric that you can win!


This month I was the Queen! My theme was Molas. I just love molas... a reverse applique technique developed by the Kuna Indians. I'm attracted to the symmetry, the contrast and bright colors and also the playfulness and mastery of the technique. I'm so excited to have the Bee members interpret this theme.


Now...for the giveaway...Here is what you have to do...leave a comment on this blog post or go over to The Printed Fabric Bee blog and leave one there. I'll be choosing a winner on Wednesday, April 15th (just to cheer someone up on Tax Day!). You'll have up to midnight Eastern USA time on April 14th to leave your comment.


In the meantime, stop off at each of the Bee member's blogs to find out how they created their mola fabric designs. Good luck!!!

Carol R. Eaton
Jackie Lams
Lynda Heines
Gerrie Congdon
Susan Purney Mark
Deborah Boschert
Jane Davila
Lisa Chin
Lynn Krawczyk
Leslie Jenison
Judy Gula

Sunday, April 1, 2012

A Day of Color and Stories


Although I only had one (very dedicated!) student yesterday...it was a colorful and productive day. Here are some photos.

Jennifer brought this mola into class. It was her grandmother's. We were trying to figure out what the figures represent. My guess was moths or butterflies.
Another mola that originally belonged to Jennifer's grandmother. Love these psychedelic frogs!
Jennifer's fabrics
Detail
Detail
Jennifer Burch admiring her finished fabric
I was struck by the fact that a number of Jennifer's fabrics spoke to me as stories.

Last night, I had trouble sleeping as my minding was racing (also could have been the chocolate I ate late). I am back to thinking about a class creating fabric that has meaning...but now more specifically printed fabric that tells stories. I will write more about this soon.

Thursday, March 29, 2012

More Fish Stories: Doubled Freezer Paper Stencil


Yesterday, I showed how to make an embossed craft foam block. The same little fish mola was the inspiration for a doubled freezer paper stencil.


This is the fish mola stencil after I used it. You can see the construction; how the image is held together by the little strips of freezer paper called bridges.


I did a couple of samples using the stencil. The background for this sample is created by rolling and knotting the fabric before applying Transparent Pebeo Setacolor fabric paint with a foam brush.


In this sample I used both the embossed craft foam block and the doubled freezer paper stencil. The background was created by placing burlap under the fabric and rolling over it (a brayer rubbing) with  transparent fabric paint.


I've been having so much fun creating the Latin American textile inspired pieces. The textiles from that part of the world are so colorful and the motifs so playful (especially all the animals). You can feel the joy in the original pieces and I hope in my samples, as well.

Wednesday, March 28, 2012

Craft Foam Print Block: Embossing Craft Foam with a Pen


As I mentioned in the Monday, March 26 post, sometimes you when you are trying too hard to make something work, you happen upon a different, possibly even better way to resolve things. So, it was over the weekend when I discovered a way to create a mola design using craft foam.


I was inspired by this small, simple fish mola design.


After reducing the image to 4" x 6", I made a tracing.


I flipped the tracing over onto a 6" x 9" sheet of adhesive craft foam and used a soft rubber brayer (roller) to transfer the design.


If you don't have a brayer, you can use the back of a spoon to transfer the design.


I did a few tracings as I wanted to try some different techniques. Since the adhesive craft foam sheets are very thin, it's easiest to peel off the paper backing and adhere them to a thicker foam sheet.


Once your design is adhered to the thicker foam, cut the foam to size. You are now ready to emboss the block. Use a ballpoint pen and press down hard as you draw around the outline of a shape. Continue to fill in the shape, pressing down hard to compress the foam.


This is what the block looks like after it's been embossed. Now it's time to print.


I use Opaque Pebeo Setacolor fabric paints and a Rollrite foam brayer. Roll the paint out on a piece of glass until the brayer is evenly coated with the paint. Roll an even coating of paint onto the block. Turn the block over onto your fabric and press down. It's best to print on a padded surface.


I printed some samples of the fish mola design for my Latin American Influences: Textile Inspirations class. I used painted backgrounds and first printed with a pattern block before printing with the embossed craft foam fish block. Tomorrow I'll have some samples using a freezer paper stencil I created using the same fish mola design.

Monday, March 26, 2012

Printing with the Cat Mola Stencil


So happy to see some new followers! Thanks for your support and hope you are enjoying and learning from my posts on surface design.

I spent most of the day yesterday in the studio testing out the print blocks and stencils and trying out a few new ideas. Not everything went according to plan...but that's how it is when you're trying something new. It's often when you are trying so hard to get one thing to work (that isn't) that you suddenly discover another way. I had a bit of that happen yesterday and will get into the results tomorrow.

For today, I wanted to show you the results of the cat mola stencil. Although it looks similar to the cat mola mask I had as the first photo of the last post, there is a difference between the two.

The mask--made out of freezer paper-- is ironed directly onto the fabric. That means you can have as many little details as you can cut out of the freezer paper and iron on. The mask is pretty much a one shot deal. If you have few little bits to move, you may be able to get one or two more prints out of it but the more detailed, the more difficult that is to do.

The stencil, also made of freezer paper (doubled), has small bridges that link the little parts together. These remarkably sturdy stencils can be picked up and moved around because all the parts are one unit. You can use them over and over and in fact, the dried fabric paint seems to make them even stronger.

I decided to use multiple colors for the cat mola stencil. Because of the details, I used stencil brushes rather than a foam dauber. I put small amounts of the Opaque Pebeo Setacolor fabric paint on plastic lids and only picked up a little at a time to apply to the stencil.


I actually did two very similar prints. One is at the top of this post and the other is here.

My friend, Carolyn Brougham commented the other day that she thought she recognized the cat mola designs. The original mola was purchased on a trip with Carolyn to visit her parents who were living in Bogota, Columbia at the time. I have a lot of great and interesting memories of that visit as that was my first real trip  to a foreign country.