Showing posts with label flour paste resist. Show all posts

Saturday, February 7, 2015

Day 7: Fabric Printing at Home Blog Tour


Can you believe it's Day #7! I've been having such a great time reading your comments and sharing tips and projects...and there's still a week to go!

Today the Tour visits with Susan Purney Mark. After reading her bio, all I can say is, "Wow!"


As a textile artist, Susan has embarked on a life transforming journey into the world of colour, design and pattern. Working with textiles has become her method of self expression and the focus of her methods of communication.

She has studied Design, Patchwork and Embroidery with the prestigious City & Guilds Institute of London, England and has studied with internationally acclaimed teachers/quilt makers Nancy Crow, Jan Meyers Newbury, Elin Noble, Gail Harker and Ruth Issett. Susan has also been awarded two Certificates in Art and Design and Textile Design/Decoration from the Gail Harker Creative Studies Centre in Washington, USA.
 
Susan has spent the last 20 years learning, experimenting and finally teaching a variety of surface design techniques in dyeing, painting, screen printing and image transfers. Most recently she has focused on soy wax resists and has recently released an instructional DVD on many of the techniques she is currently teaching across North America. Her work is known for its use of traditional methods with contemporary design and materials.http://susanpm.blogspot.com


Stop by Susan's blog today and leave a comment for a chance to win a copy of Fabric Printing at Home. Susan is also offering a piece of hand-printed fabric she designed using rolling pins! Be sure to check it out!

Valentine's Fabric Gift Wrap


In today's project, I'll show you how to make a Valentine's Day fabric gift wrap using two different fabric resist techniques. The first technique is a knotted resist (a bonus that is not covered in my book), the second technique is a wheat flour paste resist (that is covered in my book).

For the knotted resist you'll need: A flat work surface covered with plastic. I used a portable work surface which I describe how to make on page 14 in Chapter 1: Getting Started;  15" x 15" piece of Prepared for Dyeing cotton (or pre-washed white 100% cotton); two Valentine's colors in transparent fabric paint (I used fuchsia and red); Add a small amount of water to slightly dilute the paint; plastic paint containers; spoons to mix the paint; (2) 1" foam brushes; water; plant mister; iron and ironing board; optional: wipe up cloth.

1. Mist the cotton fabric so the paint can penetrate the fibers. Start at one corner and roll the fabric on the diagonal into a tube.


2. Knot the fabric in several places and paint with the fuchsia and red paint.


3. Immediately, unknot the fabric and let it dry flat. When dry, iron the fabric to remove wrinkles.


You will now add the second resist layer to the 15" x 15" piece of fabric. You will need: flat work surface covered in plastic, wheat flour; water; container to mix up the wheat flour paste; measuring cups; wire whisk; large metal spoon; plant mister; plastic spreader; masking tape; wooden skewer; paper towel; blue transparent fabric paint (add a small amount of water to dilute it); (1) 2" foam brush; paint container; extra piece of cotton or muslin fabric that is at least 15" x 15"; pressing cloth; iron and ironing board; sink; dishwashing liquid.

1. Tape the 15" painted square of fabric to the work surface.

2. Mix up the wheat flour paste resist using the recipe on page 98 in Chapter 6: Irresistible.


3.  Mist the 15" x 15" fabric with water.

4. Spoon the wheat flour paste resist onto the fabric and use the plastic spreader to spread a thin even coat over the surface.


5. Let the paste-covered fabric sit for a couple of minutes. Then use the flat end of the wooden skewer to draw into the paste. You can draw designs or write words. Occasionally, wipe the end of the skewer on a paper towel to keep it clean.


6. Let the flour paste resist dry completely. Optional: Carefully manipulate the paste-covered fabric to form small cracks.

7. Slip the extra piece of fabric under the paste-covered square. Paint with the blue transparent paint.


8. Let the paint dry completely. Set the paint following the manufacturer's instructions.

9. Remove the wheat flour paste. See page 113 in Chapter 6: Irresistible.


To wrap the fabric around a gift box, see the directions here (from Julie B Booth Surface Design News).


Today's giveaway is a a set of 3 plastic spreaders. Use these to spread paste resists on your fabric. Leave a comment for a chance to win. I will choose a winner at 11:00 PM Eastern USA time. Check tomorrow's post to see if you are the winner. Your comment also enters you in the final drawing on February 15 for a free copy of Fabric Printing at Home: Quick and Easy Fabric Design Using Fresh Produce and Found Objects. 

  
And now for the winner of yesterday's giveaway (a mini hot glue gun and glue sticks)....congratulations to Jans S ! Please email me with your contact information (threadborn@cox.net) so I can send off your prize.

Tomorrow, the Tour stops at Teri Lucas' blog. Teri is an accomplished (award winning!) machine quilter, quilting teacher and magazine editor. Thanks for Joining the Tour, Teri!
 
Be sure to visit all the stops on the Tour:
February 2: Lisa Chin

February 3: Lynn Krawczyk
February 4: Jane Davila
 
February 5: Carol R. Eaton 
February 6: Judy Gula 
February 7: Susan Purney Mark 
February 8: Teri Lucas 
February 9: Jennifer Coyne Qudeen 
February 10: Deborah Boschert 
February 11: Lynda Heines 
February 12: Cheryl Sleboda 
February 13: Terri Stegmiller 
February 14: Jackie Lams


Saturday, January 10, 2015

The Printed Fabric Bee: My Old World Map Fabric


Finally, my Old World Map fabric is complete. This month's theme from Queen Bee, Lisa Chin, was a tough one but that's part of the fun of being a member of The Printed Fabric Bee! Challenges str..et..ch you!

Since Lisa had requested the colors of old maps, I knew that my color palette would be a toned-down one. I started with some tea-dyed fabric. For my first layer I decided to do a flour paste resist. I knew that the crackle designs would age the fabric and make an interesting background texture.

I spread a layer of flour paste across the fabric.


After the paste dried, I manipulated the fabric to form small cracks and then painted over the resist. The paint seeped into the cracks.


After setting the paint and removing the resist, this is what the background looked like.


For the next layer, I wanted to give the impression of land and water. I tore freezer paper masks and ironed them to the fabric.


I applied two different colors of diluted transparent fabric paint over the masks and let them dry. The painted mixed under the paper for some color gradations.


I decided to design and carve a Speedball Speedy Carve print block based on a compass rose design.


I like how the design forms a grid (like a map) and you can still see through to the layers below.

To give the compass rose design a little more definition, I created a stencil out of packing tape (you can read more about how to make one of these stencils in this issue of my online newsletter, Julie B Booth Surface Design News).


Here is the 6" square that is part of the fabric giveaway.


Here again in the mosaic of designs by other members of The Printed Fabric Bee.


To join in on the giveaway, leave a comment at The Printed Fabric Bee blog or Lisa Chin's blog. Lisa will be announcing the winner on January 16th. Good luck!!


Thursday, July 24, 2014

Finally...My "Industrial" Fabric

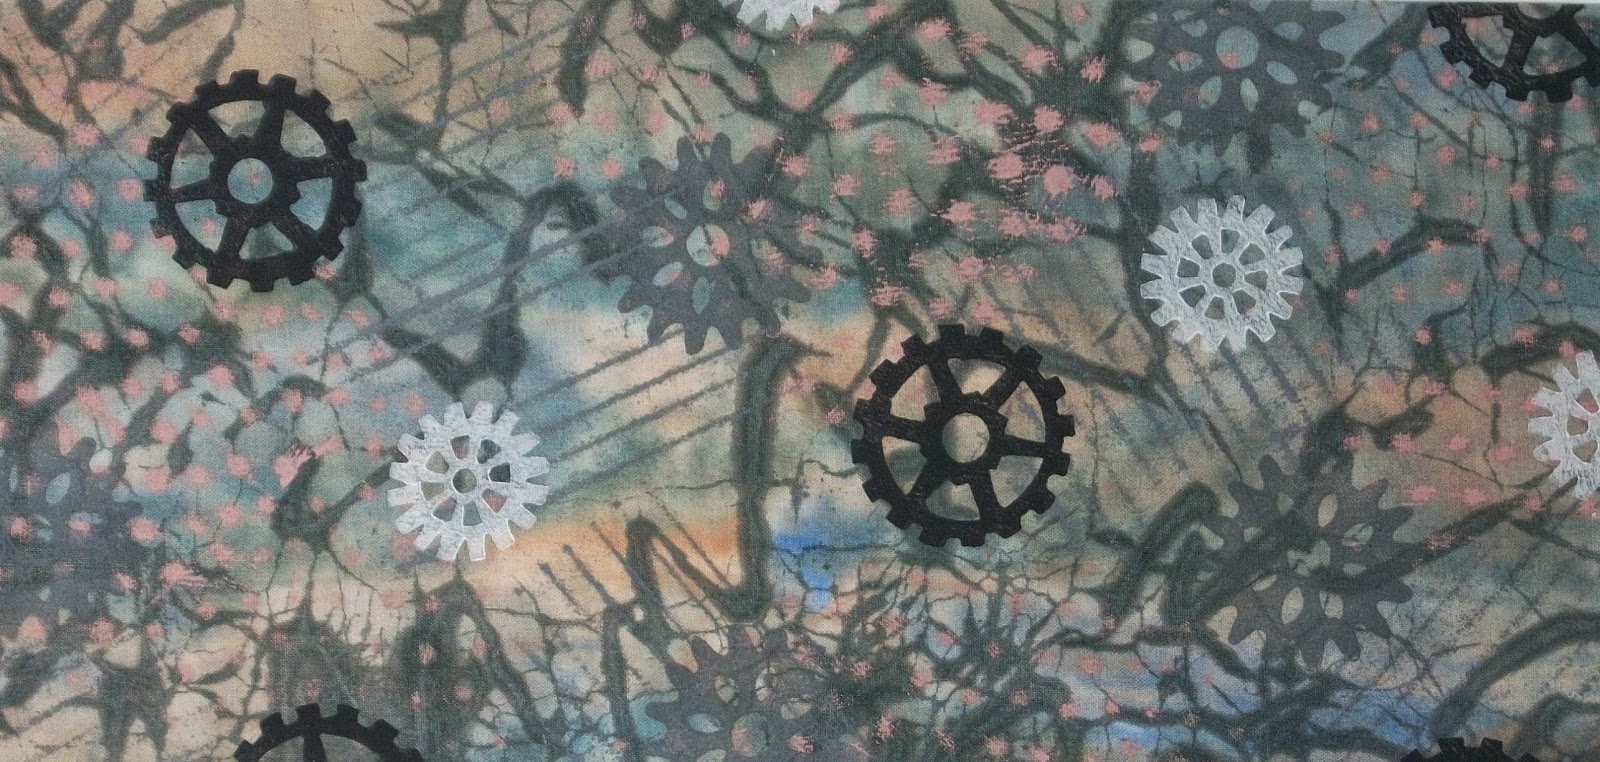
Susan's final "industrial" fabric.

I finally finished my contribution to The Printed Fabric Bee's Industrial Collection. It was due to Queen Bee, Susan Purney Mark, three weeks ago. But, as sometimes happens, life and vacation intervened.

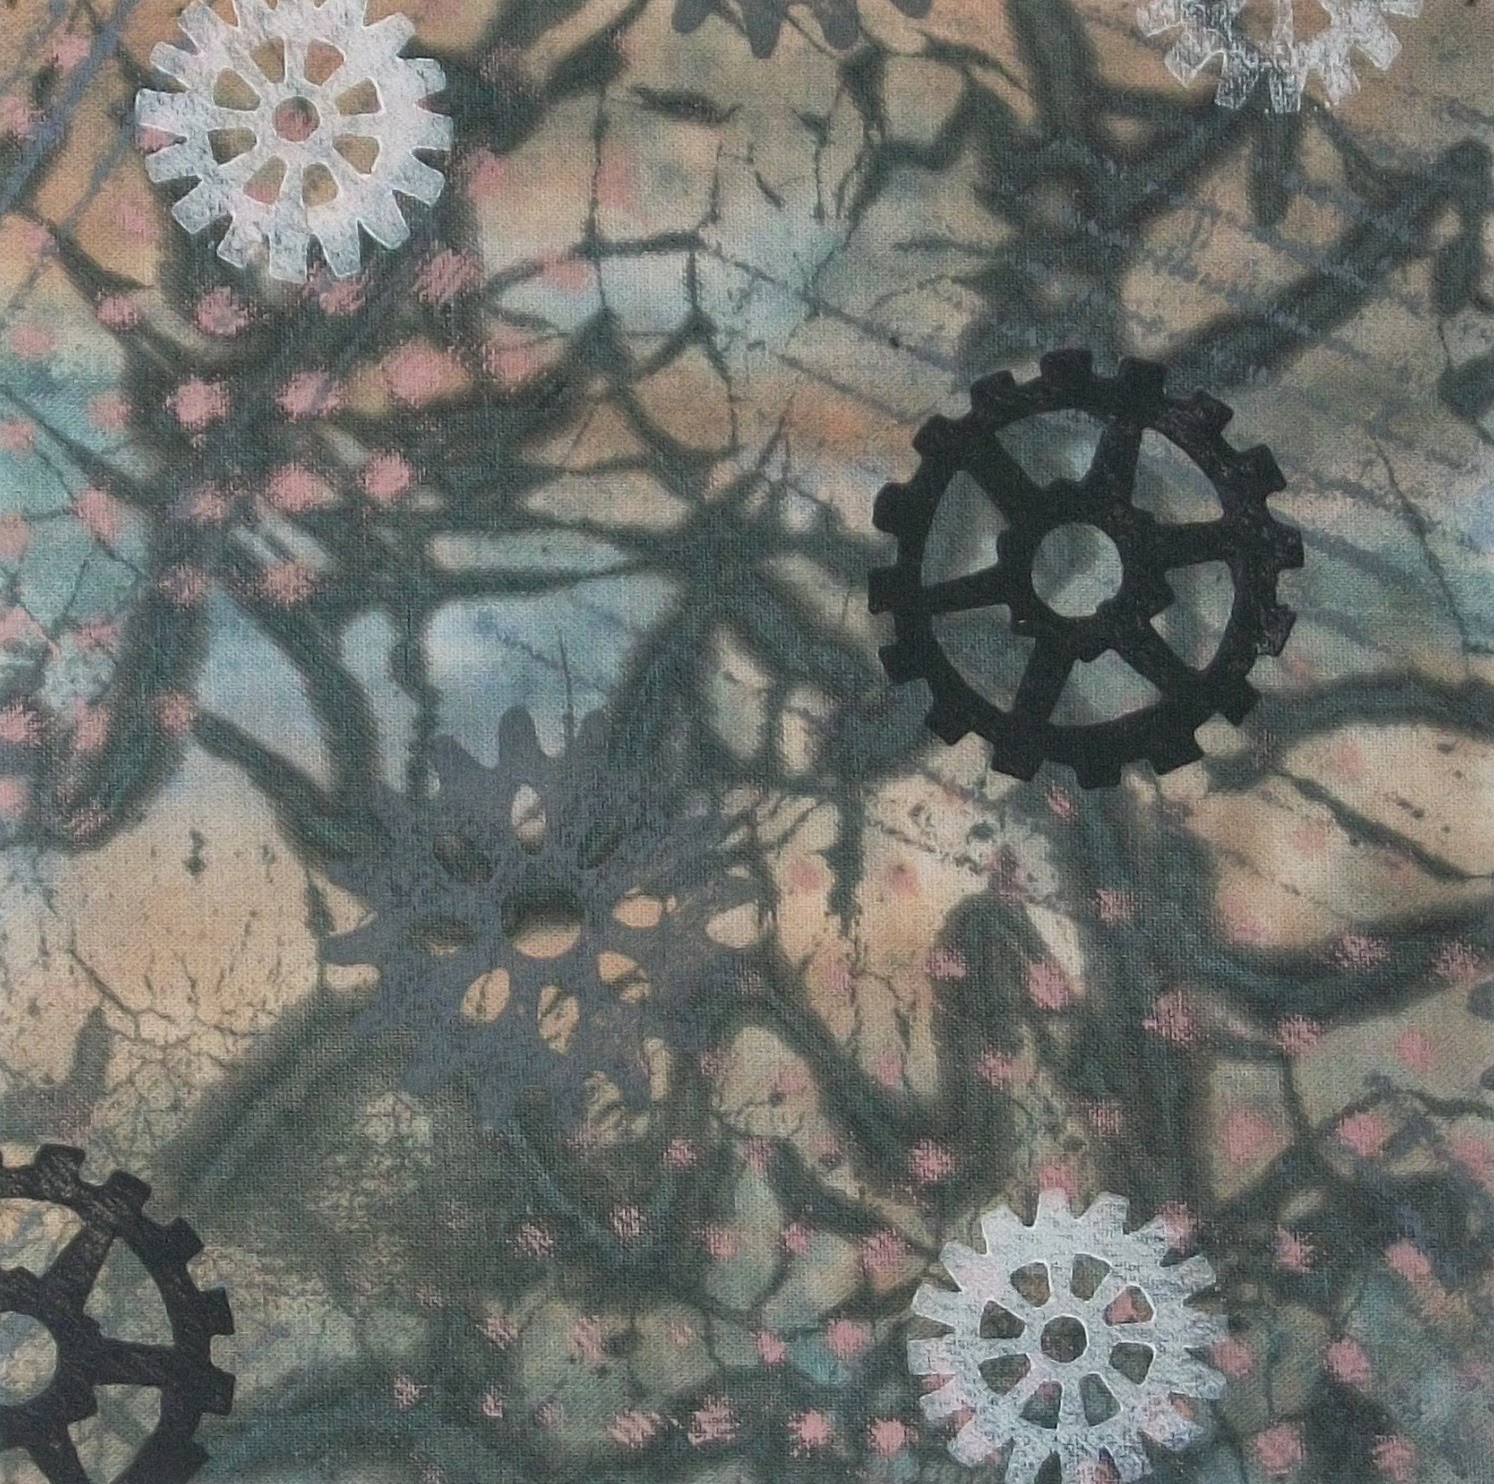
Detail

From the beginning, this was a bit of a challenge for me. First, it was the color scheme...neutrals. I have to admit, I'm sort of a color junky. I often admire artists that have the ability to work with neutrals. So very subtle...where one tends to pay more attention to marks and texture. Often subdued color artworks can appear to be more sophisticated. Then there was the theme...industrial. I admit that I don't get that inspired by all things industrial. Fortunately, Susan had a very loose interpretation of the theme. She was more interested in old industrial...rust, peeling paint, etc.

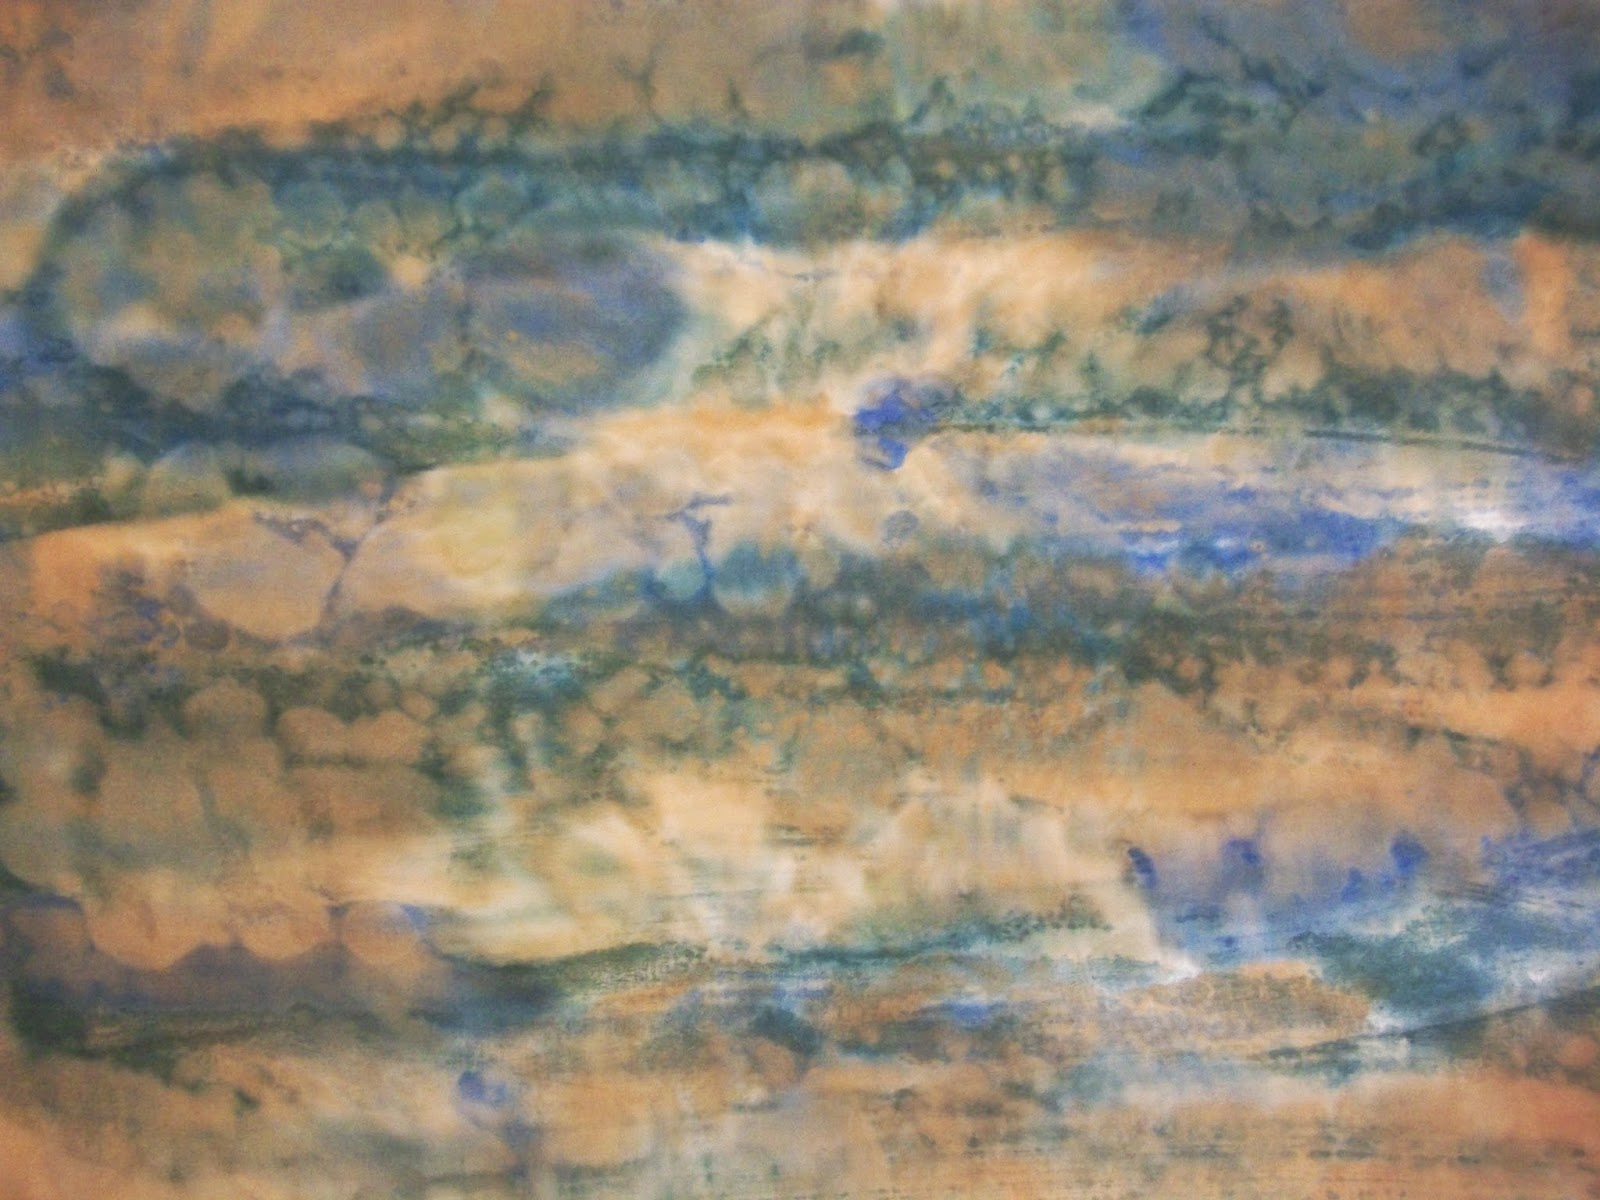
I decided to start off by monoprinting a piece of white cotton. I painted layers of transparent fabric paint on plastic film and then laid the fabric on top to pick up the paint.

Monoprinted background

To get the look of cracked and distressed paint, I covered the monoprinted fabric with a layer of wheat flour paste resist. While it was still wet, I drew designs in the flour paste. When it dried completely, I crackled it.

Manipulating the dried resist to form cracks.

Next I painted over the dried resist. The paint reached the fabric through the cracks and lines in the resist.

Painting over the dried resist.

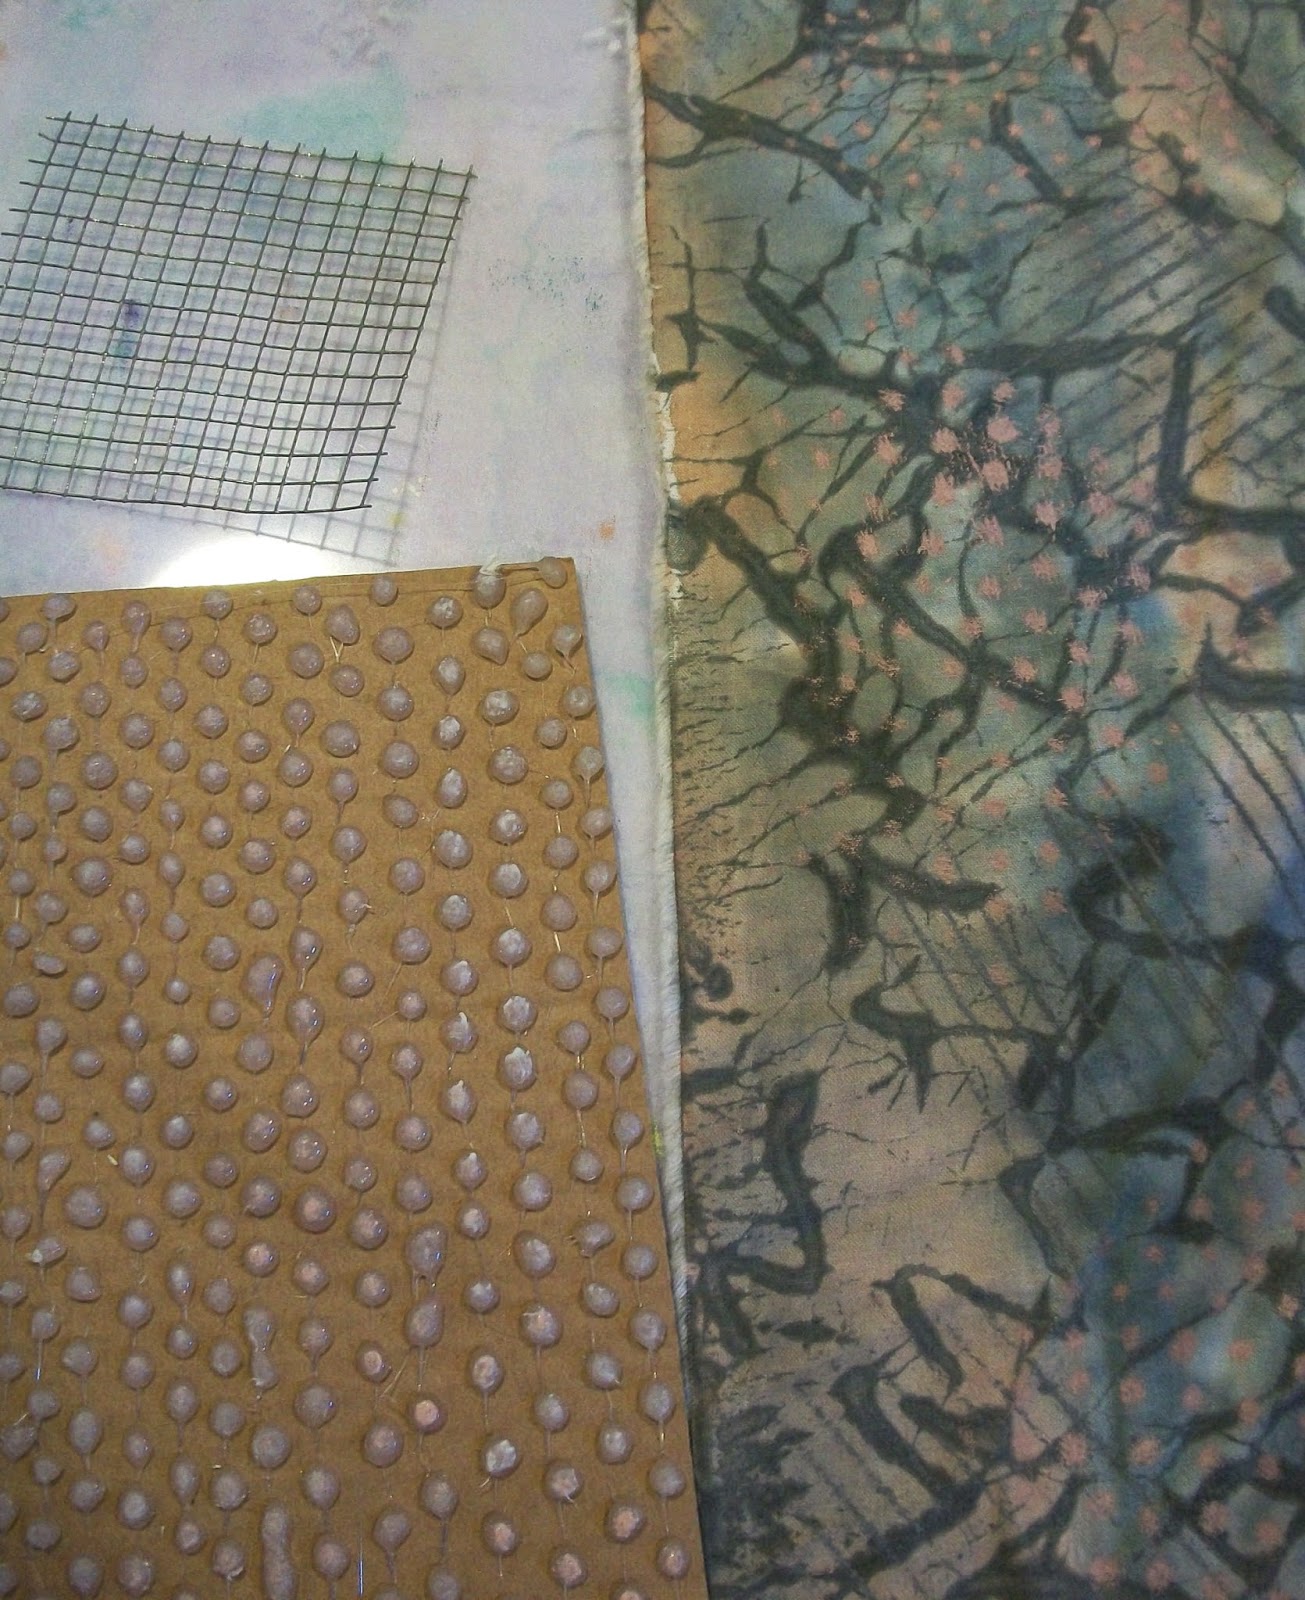
After setting the fabric and removing the resist, the next layer of paint was applied with brayer rubbings. I slipped a hot glue block and a piece of wire screening under the fabric and rolled over these textures with a paint-covered brayer.

Flat textures to slip under the fabric for brayer rubbings.

Finally, I carved gear designs in Speedball Speedy Carve blocks and printed over all the other layers.

Carved "gear" blocks.

I'm quite happy with the result. Hope Susan and collection winner, Gabriele enjoy using this fabric.

Six inch fabric square that didn't make it into the collection below. But now done and off in the mail to the winner!!

Wednesday, August 7, 2013

Fat Quarters and Roy Reminder


In preparation for a collaboration with a fellow gallery member for the September show at Potomac Fiber Arts Gallery, I've been busy painting and printing fat quarters.


I'm continuing to play around with my Confectioner's sugar resist recipe but playing around with salt as well.


And...even a little bit of printing with flour paste.


All those ingredients sound like they could make something yummy!

This is also your one week reminder that Roy is just a week away! Where did the time go? Next Thursday, August 15 features VIOLET. If you're new to the Search for Roy G Biv (the colors of the rainbow), click here for more info.

Tomorrow I'm off to Virginia Beach to visit with my friend, Laura and her family. I'm so excited! I'm looking forward to walks on the beach, kayaking and eating fresh produce from Brian's garden. We also plan to do some fabric printing with veggies. Stay tuned!


Saturday, November 24, 2012

Fabrics and a Friendly Rendezvous?


 Here are a few more fabrics that I created for Julie B Booth Surface Design News Issue 7. There was so much going on in this issue that I couldn't include all the fabrics.


Jennifer Q is in the vicinity visiting family this week. We are making an attempt to rendezvous this afternoon. I am hoping to finally get the chance to meet her daughters. It will be so great to see her in person (vs. Skype). Keeping my fingers crossed.

Have a little something for her too!


Sunday, November 18, 2012

Busy in the Studio and Winner Chosen


 It's been a busy weekend in the studio. I've been working on a number of projects.


First, I wanted to create some fabric sets for Potomac Fiber Arts Gallery. The jury for the Holiday Show is tomorrow. I printed up some smaller pieces of colorful fabric. I decided to call each set a Deconstructed 9-Patch. There's enough fabric for a miniature 9-patch quilt including the binding. They were fun to make but if I decide to enter them on a continuing basis, I will have to come up with a more efficient way to make them.


I also spent a great deal of time working on the project for the next issue of Julie B Booth Surface Design News. The next issue (#7) comes out on Saturday, November 24. It's a multiple step project and the fabrics are now covered with a flour paste resist and need to dry completely before the next step. I'm looking forward to seeing how the fabrics turn out and part of the project is using the fabrics to wrap things up. If you would like to subscribe, it's very easy. Just go to the Newsletter Sign Up in the right hand column, input your email address and press Subscribe.

Oh yes...I haven't forgotten...the names went into the hat and my husband pulled out the piece of paper...that said Ersi. Congratulations! You are the winner of the Violet Challenge Fabric.


Now it's back to work!


Thursday, April 12, 2012

Backgrounds: Wipe Up Cloths and Monoprints


Yesterday, I demonstrated how to make a textured background fabric using a knotted resist. Today, I want to show you how to make two other types of backgrounds: wipe up cloths and monoprints.

I always like to have an extra piece of fabric handy to wipe up excess fabric paint. These cloths can often be surprisingly beautiful. Below is a technique I developed to purposefully create a wipe up cloth.

You will need a piece of acetate (I use Graphix Clear-Lay Plastic Film) taped to your work surface. In this case, I'm using a piece of foam core board as my work surface.

Mix up some fabric paints. I use Pebeo Setacolor Transparent Fabric Paints that have been diluted (1 part paint to 2 parts water).


Use a foam brush to sprinkle colors onto the acetate.


Wipe up the colors with your piece of fabric.


Repeat until you have a pleasing cloth.


To create a monoprint, you will need a similar work set up.
Paint designs on the acetate.


Carefully lay your piece of fabric over the painted surface to absorb the paint. You can press the back of the fabric with your hands or roll a clean brayer over the fabric to help with this step. The brayer will sometimes move the paint, distorting the design. I used my hands for this piece.


If you wish, you can continue to paint additional designs on the acetate and lay the fabric down to absorb more layers.


Once dry, you can add layers of resist or printing over the backgrounds. The first image on this post is a wipe up cloth on which I spread a resist layer of uncooked wheat flour paste. I scratched designs in the wet paste. Once it dried, I painted over the designs.

Below are are two monoprints where I spread a resist layer of uncooked wheat flour paste and scratched designs while the paste was wet. Once the paste dried, I cracked it and painted a layer of transparent paint over the fabric.

You can see how having a textured background added another dimension to these fabrics.