Showing posts with label packing tape stencils. Show all posts

Monday, October 10, 2016

Fun with Handmade Stencils

Day of the Dead sugar skulls by Denise R.

Last weekend, I taught Fun with Handmade Stencils at Artistic Artifacts.

We created stencils from freezer paper, packing tape and shelf liner. We played with layering textures. Students learned about designing multi-colored stencils and working with bridges. Here are the results:

Denise working with a freezer paper stencil.
More sugar skulls!
Denise R.: Packing tape stencil printed with a texture.
Buffy K.: Packing tape stencil.
Buffy also played with some freezer paper masks.
Combining the masks with the stencil.
Peggy G.: Packing tape stencil. Using more than one color through the stencil.
Peggy G.: Freezer paper stencil with multiple colors.
I even jumped in to play with stencils!
Detail of one of my freezer paper stencils. I used two different stencils to create this print.

Thanks students for an enjoyable class!

Wednesday, May 20, 2015

Weekly Pattern Wednesday


I've decided to join in this fun blog hop that Lynn Krawczyk will be hosting every Wednesday. It's called Weekly Pattern Wednesday. Post a pattern you've created on Wednesday (today!) and leave a comment on Lynn's blog (or if you're into Instagram she has a hashtag for you!).

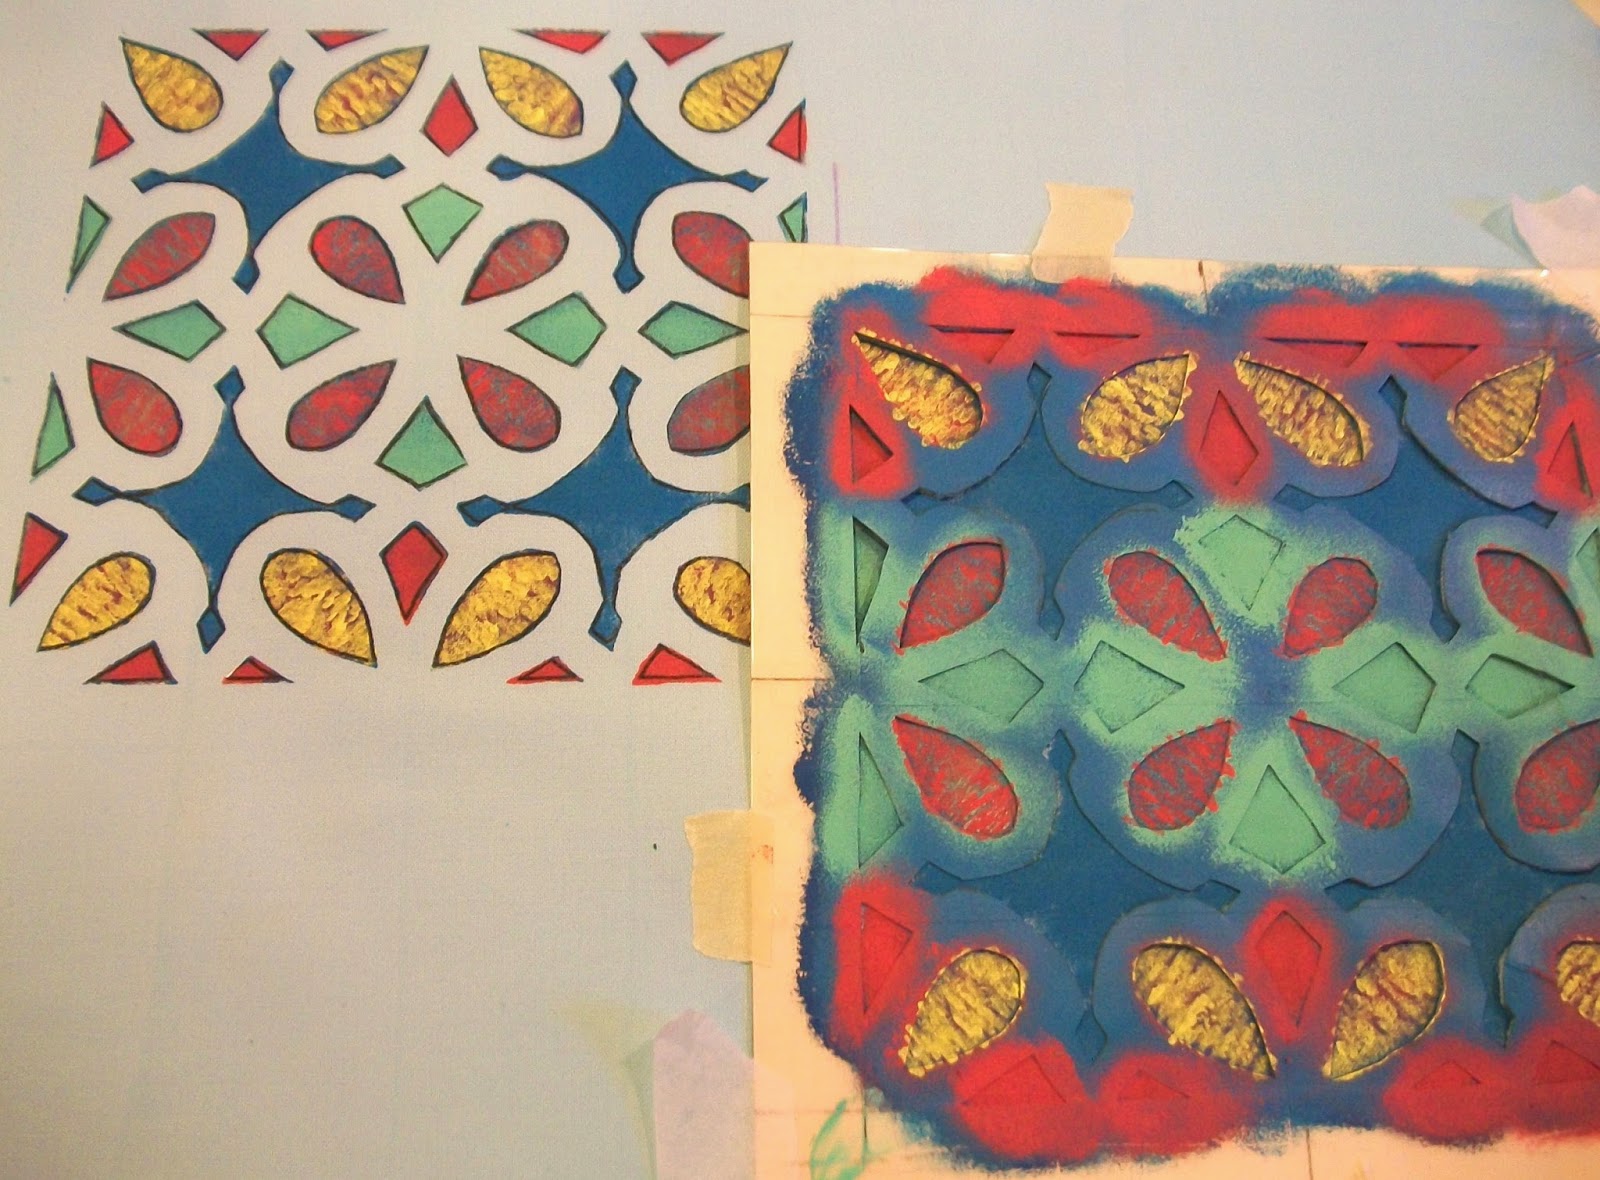
Today's pattern is created using a stencil I designed using packing tape. If you'd like to learn how I made the stencil, you can visit this issue of my free monthly online newsletter called Julie B Booth Surface Design News. I had so much fun fiddling around with the stencils I made for this project...I wanted to see how I could add layers of color to fabric using just one stencil.


I'm looking forward to seeing what other folks have posted for their patterns...since I absolutely LOVE patterns!

P.S.: Don't forget that tomorrow we're Searching for Roy G Biv...the color BLUE! See details here.

Saturday, January 10, 2015

The Printed Fabric Bee: My Old World Map Fabric


Finally, my Old World Map fabric is complete. This month's theme from Queen Bee, Lisa Chin, was a tough one but that's part of the fun of being a member of The Printed Fabric Bee! Challenges str..et..ch you!

Since Lisa had requested the colors of old maps, I knew that my color palette would be a toned-down one. I started with some tea-dyed fabric. For my first layer I decided to do a flour paste resist. I knew that the crackle designs would age the fabric and make an interesting background texture.

I spread a layer of flour paste across the fabric.


After the paste dried, I manipulated the fabric to form small cracks and then painted over the resist. The paint seeped into the cracks.


After setting the paint and removing the resist, this is what the background looked like.


For the next layer, I wanted to give the impression of land and water. I tore freezer paper masks and ironed them to the fabric.


I applied two different colors of diluted transparent fabric paint over the masks and let them dry. The painted mixed under the paper for some color gradations.


I decided to design and carve a Speedball Speedy Carve print block based on a compass rose design.


I like how the design forms a grid (like a map) and you can still see through to the layers below.

To give the compass rose design a little more definition, I created a stencil out of packing tape (you can read more about how to make one of these stencils in this issue of my online newsletter, Julie B Booth Surface Design News).


Here is the 6" square that is part of the fabric giveaway.


Here again in the mosaic of designs by other members of The Printed Fabric Bee.


To join in on the giveaway, leave a comment at The Printed Fabric Bee blog or Lisa Chin's blog. Lisa will be announcing the winner on January 16th. Good luck!!


Wednesday, December 3, 2014

The Printed Fabric Bee Sunflowers Giveaway


This month, Susan Purney Mark is the Bee's Queen. She asked us to design fabrics around the theme of sunflowers.

Those of you who read this blog know that sunflowers have a special significance to me...they remind me of my good friend, Martha Hill, who passed away a couple of years ago.

I decided to go a "homey" folk-art "ish" route with the design.

I started with a fabric I'd painted pale golden orange. For the first layer, I wanted to use one of my favorite "kitchen" resists...namely liquid dishwashing soap! I decided to do a rubbing using a hot glue on cardboard block.


I slipped the block under the fabric and rolled over it with the resist.


This was followed by a color wash using diluted Sienna Brown Pebeo Setacolor Transparent fabric paint.


After setting the paint and removing the resist, it was time to create the sunflower design. I often like to create stencil designs based on paper cuts. For this design I folded a circle of white printer paper and cut out the design with small sharp scissors. I then glued the design onto a piece of black construction paper so I could see what the final stencil might look like.


I designed three stencils using packing tape and manila folders. If you want to know how I made them, here is a link to an issue of Julie B Booth Surface Design News that explains the process. They are really very simple to make and you probably have all the materials you need to make them right at home!


I printed the large circular stencil design first. I mixed Pebeo Setacolor Opaque fabrics paints to come up with golden yellow and orange. I used the yellow first, and then very lightly daubed the orange to give the background a little more depth.


I used dark brown opaque paint for the stencil with the flower design.


I wanted a way to show the texture in the center of the sunflower. After a bit of trial and error, I opted to print with some textured shelf liner. I centered the small circular stencil over the center of the flower design to act as a mask. I rolled paint over the shelf liner and printed over the open area of the stencil. The first layer of paint was green, followed by black.


Here is the final six inch square that is part of the giveaway.


And here are the other fabrics that you can win!


All you have to do is leave a comment on either Susan Purney Mark's blog or on The Printed Fabric Bee blog and your name will be put in for the chance to win the complete set. The drawing will occur on December 15.

Be sure to visit the blogs of the other members of The Printed Fabric Bee to find out how their fabrics were created!

Deborah  Boschert
Lisa Chin
Gerrie Congdon
Jane Davila
Carol R. Eaton
Judy Gula
Lynda Heines
Leslie Jenison
Lynn Krawcyzk
Jackie Lams


Thursday, September 25, 2014

A New Newsletter Coming this Sunday!


Issue #21 of Julie B Booth Surface Design News is just about ready. I'll be releasing it this Sunday, September 28th.

I decided to play with some packing tape this month to create some nifty stencils. Hope you enjoy reading it! And...if you don't yet receive it...hope you'll consider signing up...it's free, after all!

Sign up is in the right hand column of this here blog.