Thursday, March 15, 2012

Cat Mola Block Design: Getting Started

I'm finally, getting started on some designs for the upcoming Latin American Influences: Textile Inspirations class.

I've owned this mola with two cats since I was a senior in college. I decided I'd like to make a carved block of the smaller cat.


First I made a pencil tracing. This was a little tricky as the mola is framed in glass and it was a little hard to see all the details.


Next, I taped the pencil tracing to a light box and made a second tracing, this time on a piece of white printer paper with a marker.


I reduced the image by 50% so it would fit on this Speedball Speedy Carve block.


Tomorrow, I will transfer the design to the block so I can start carving. Stay tuned!

Wednesday, March 14, 2012

Spring has Sprung


Out in my backyard under the old maple tree...spied these little beauties. Spring is definitely here!


Tuesday, March 13, 2012

Learning about Thickened Dyes with Floris Flam

Floris Flam
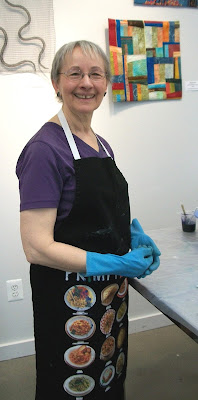
  I spent a couple of hours with quilt artist, Floris Flam today in her studio at VisArts in Rockville, Maryland. She took me through a step-by-step of mixing up and painting with thickened dye.

This is what the thickening paste looks like before adding water. It contains some Urea which comes into play later in the process.

Next Floris added the dry paste mixture to water. It has to be stirred continuously for several minutes until it is mixed thoroughly and starts to thicken. It needs to stand for at least an hour, though it is better if it stands overnight as it will then become smooth.

This is what the thickened paste looks like when it is ready to use.

Now it is time to add the dye. The dyes used with this process are PRO MX Reactive Dyes. Floris had mixed the dyes at home and brought them into the studio. The ratio of dye to paste will determine the darkness of the dye. Floris works with primary colors and has assembled dye color charts to figure out color mixtures. She mixed a purple to work with today.


The last thing that needs to be added before painting on the dye is a baking soda/soda ash mixture. This activates the dye in the dye paste. Once this is mixed in, the paste lasts for 4 hours.

I brought in a sampler fabric of different application techniques using cooked Confectioner's sugar resist. Both Floris and I wanted to see how the print paste would work with the water soluble resists I've been working with this past year. Here Floris is using a foam brush to paint on the thickened dye.

This is what the fabric looked like after being painted with an even coat of the thickened dye.

The painted fabric now has to be covered for 24 hours in order for the dye to bond. The dye has to stay moist during this time...this is where the Urea comes into play as it helps keep the water from evaporating from the dye paste.

After 24 hours, the fabric is rinsed with cold water to remove the soda ash. It then has to be washed in hot water (140 degrees F) with Synthrapol. Since this is just a sample, after removing the soda ash, I will probably just wash it in hot water from my kitchen sink.

Floris has been taking an online dyeing class with Candy Glendening to work out this wonderful color chart.

Here are some more dye samples from the same course. I can only imagine how many hours of time this all took but what a fantastic resource!

Floris' studio space at VisArts is shared with about 7 other artists...most of them are also members of Potomac Fiber Arts Gallery, where I am a member. There was a beautiful selection of the artists' work for sale. I spied some colorful dyed socks and was pleased to find out that they were made by Floris.
So of course I had to buy three pairs! I can't wait to wear them. Thanks Floris for a fun and informative time.

Off to Visit Floris


A little still life of my polymer faces with recent purchases from Star's Beads Ltd.

I'm off to visit with quilt artist, Floris Flam in her studio. She is going to be taking my Arresting Resists class in April. She was one of the students in the Playing in the Kitchen with Julie Booth workshop that I gave through the Potomac Fiber Arts Guild. She is a marvelous artist and I will be taking some photos of my visit.

Floris is going to show me how to make thickened dyes and we are going to see how they work with some of the resist recipes I've been working with this past year...stay tuned!

Monday, March 12, 2012

Latin American Influences

Detail of Cat with Fish Mola
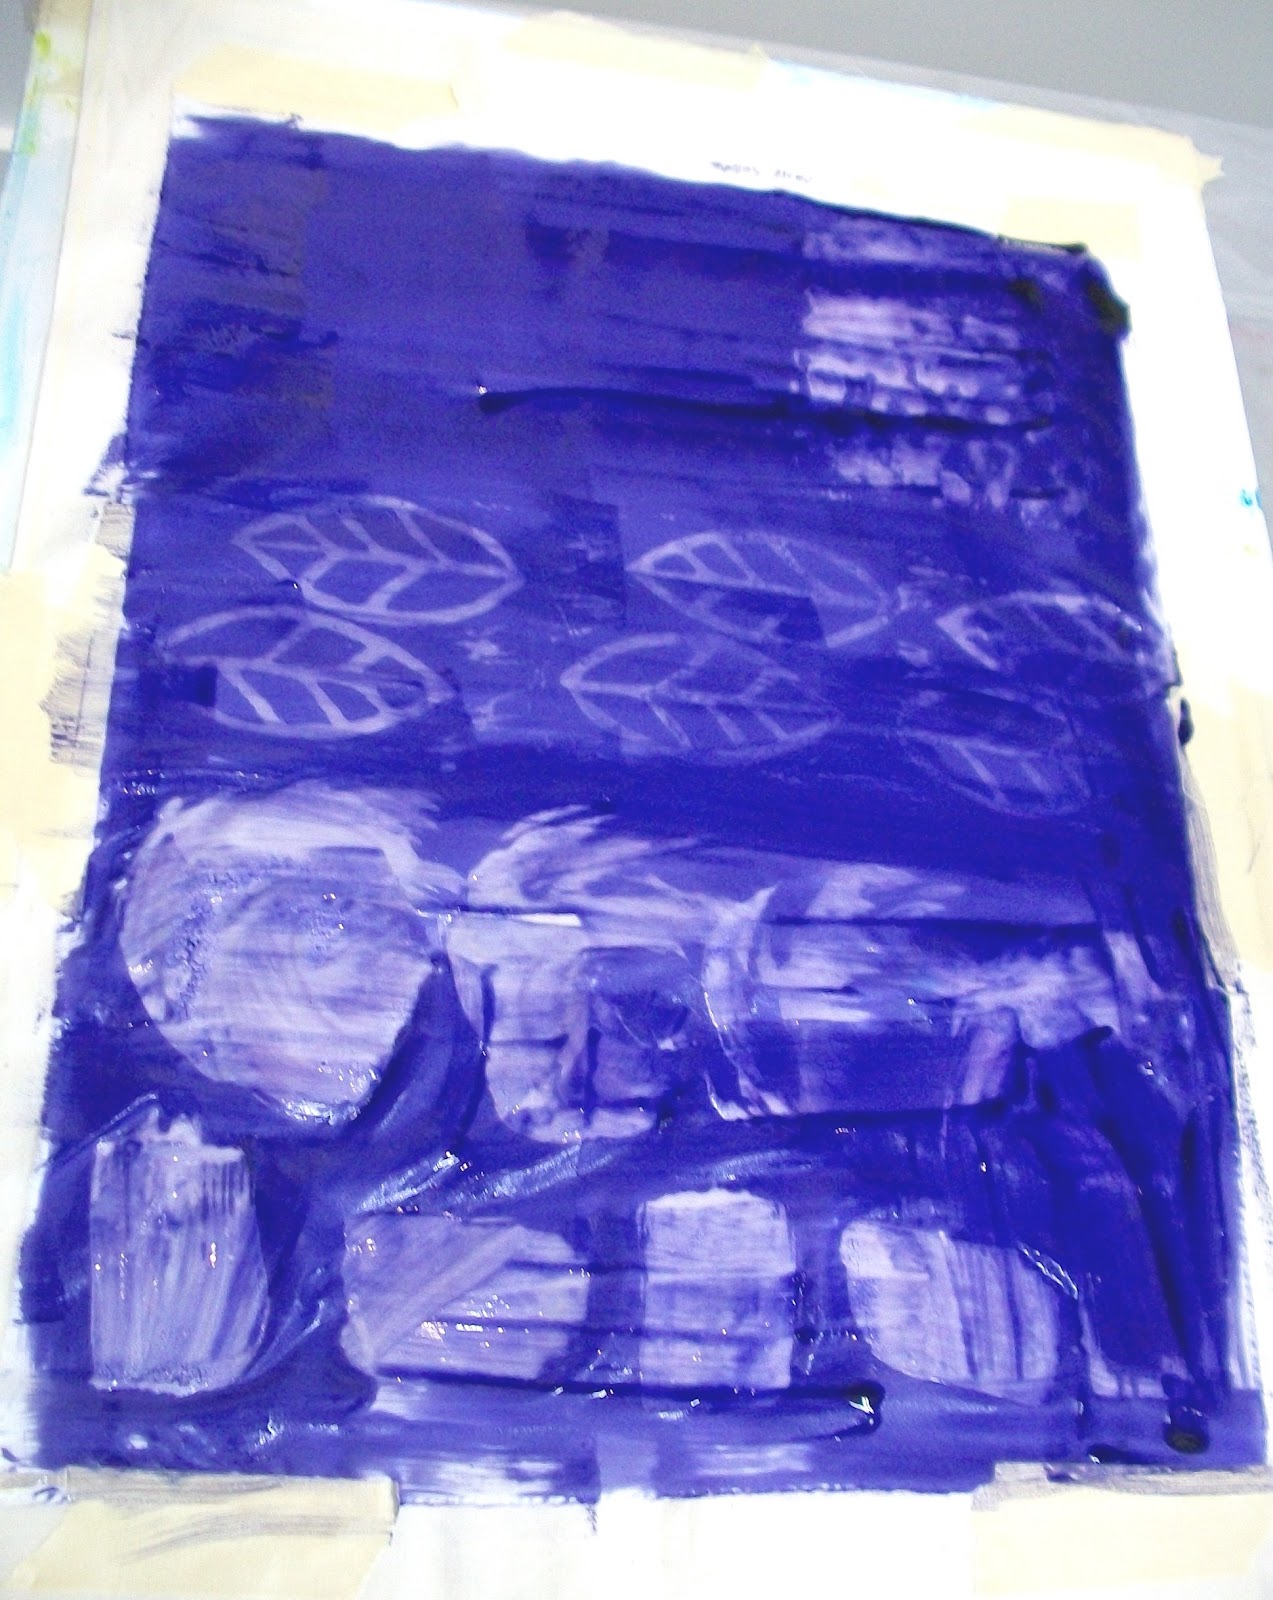
Last night, I painted some backgrounds for the Latin American Influences: Textile Inspirations class coming up at the end of the month. I'm making samples this week based on textiles such as molas and huipiles (colorful woven and sometimes embroidered tunics). I'm trying to work out some innovative ways to print and stencil fabrics that use these bold, colorful textiles as a jumping off point. I'm sure I will have work on this project to share this week.

Sunday, March 11, 2012

Hamsa Project: Finishing Layers

Orange Hamsa after printing but before removing all the freezer paper masks

Yesterday,  I worked on printing the Hamsa hands and removing all the layers of blue glue gel. Below, I show the steps on the orange Hamsa.

I first had to mask the oval areas behind the hands with freezer paper.
Positioning the freezer paper mask
Ironing on the freezer paper mask
The freezer paper mask is now attached and I'm ready to print

I then mixed up a deep orange paint and printed with a moldable foam print block.
Rolling out the opaque paint to apply to the print block
Printing with the block

I decided to add a little more color with one of the Pentel pastel dye sticks.

 This is what the Hamsas looked like after removing the freezer paper masks but before removing the glue.

I then had to set the paint and pastel using an iron.
I used parchment paper while heat setting the fabric to protect the iron

After the fabric was set, I put it in a plastic container that fits in my kitchen sink. I added some Dawn dish washing liquid and very hot water.

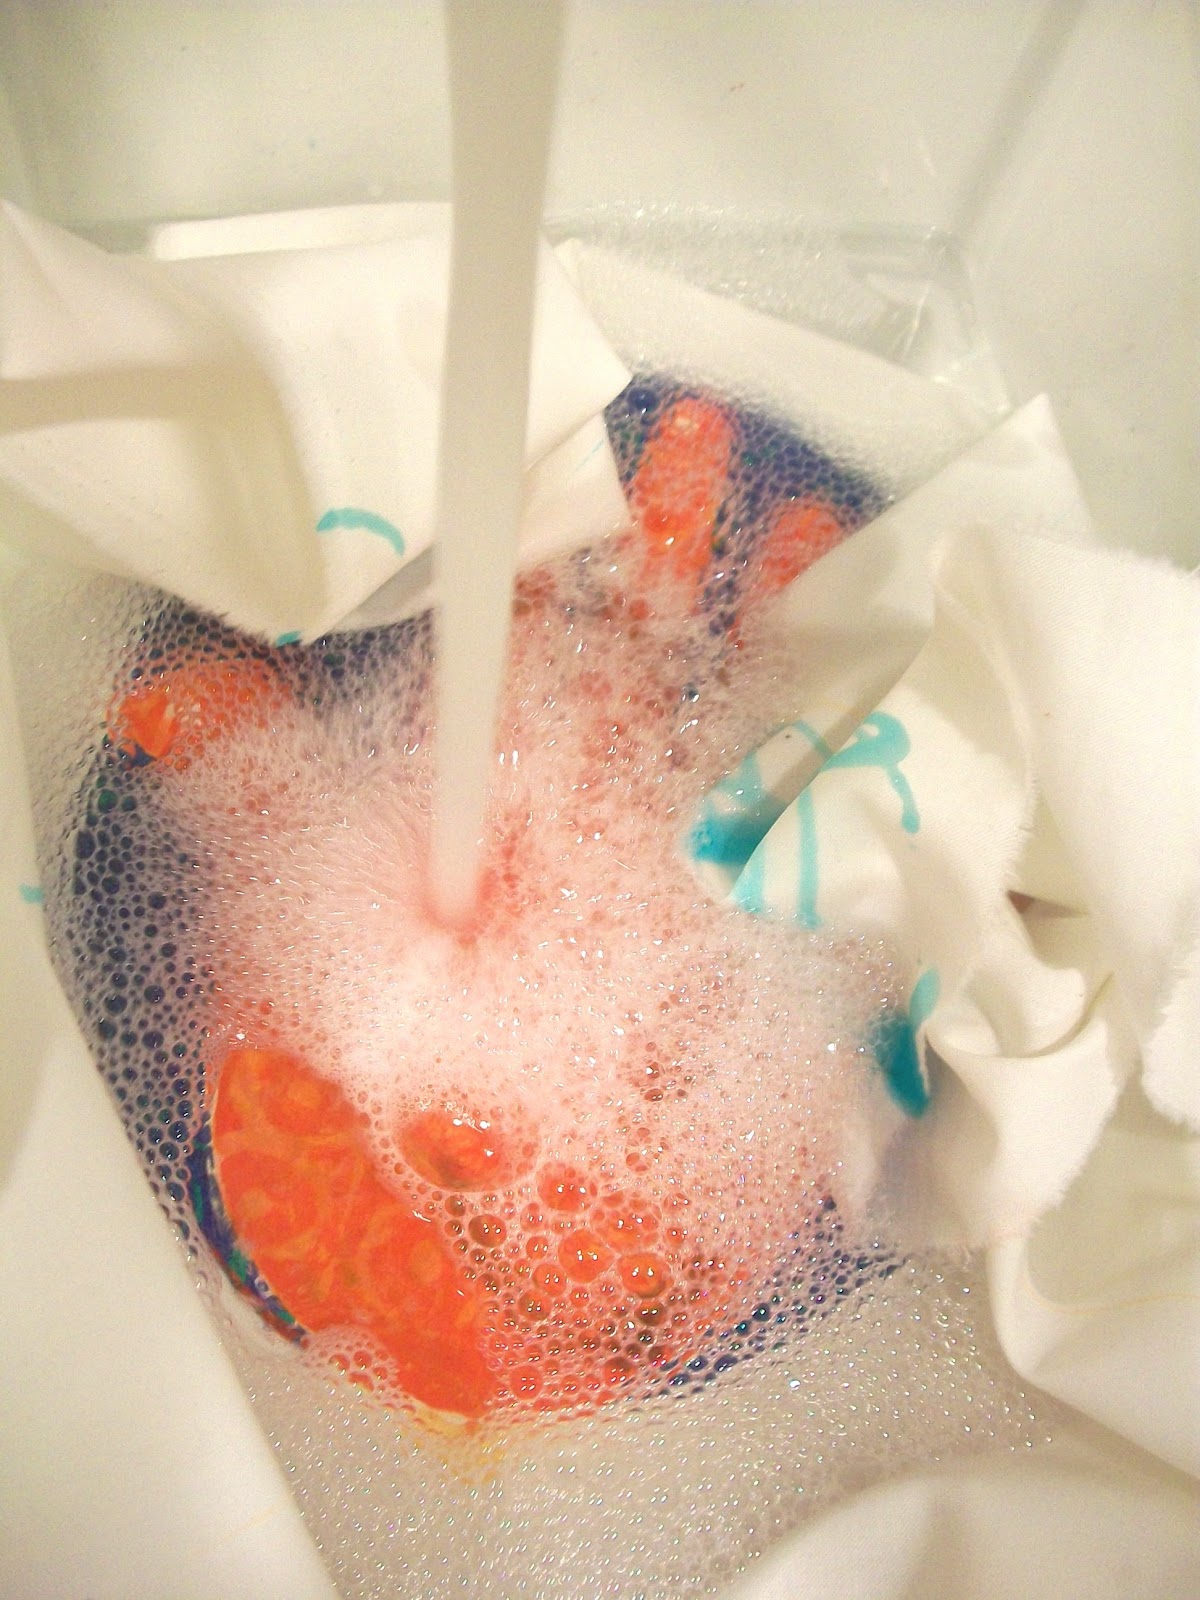
I let the fabric soak for 10 minutes. I used my fingernails to scrape off some of the glue. I also rubbed the fabric together to help remove more glue. Once all the glue was removed, I put it in my washing machine in a warm water delicate cycle wash.

This is how the Hamsas came out.

I have to admit that I actually liked the brighter, more graphic look of the Hamsas in the stage right before I washed the blue glue gel out of the fabric. Once the glue was removed, the Hamsas had a softer, more toned down look. I noticed that some of the color details from the pastels were completely lost.

I had planned to eventually add stitched details to the Hamsas which could "revive" them a bit. I now have to make a decision...do I continue with these pieces or attempt to do another set that does not utilize the blue glue gel as a resist. I will have to contemplate this a bit.

Friday, March 9, 2012

Hamsa Project: More Layers Part Two: Opaque Fabric Paint


Finally...time to move on to the opaque fabric paint.

First, I had to cut some freezer paper masks so that I could work on the oval background and the hand separately. I also cut a mask to cover the area surrounding the oval and hand. I will be working on that part of the piece later, after I finish with the center area.
Cutting out the freezer paper masks


I decided to work on the oval areas around the Hamsa hands first. After cutting the freezer paper masks, I ironed them on to the fabric.
Ironing the freezer paper masks to the fabric


Next, I mixed up some colors of opaque fabric paint. I rolled each paint color out on a glass palette with a foam roller  (also called a brayer) to get an even coat on the roller. On the piece with the blue oval (and orange Hamsa), I rolled colors out on print blocks and printed the uncovered area with them.
Printing with opaque fabric paint


On the piece with the fuchsia oval (and turquoise Hamsa), I slipped a hot glue block design under the fabric and rolled the paint over the fabric to pick up the design (a "brayer" rubbing). I then moved the block to offset the design and used one of the Pentel pastel dye sticks to do a rubbing.
Rubbings with opaque fabric paint and pastels


Now it's time to cover up the background and print the Hamsa hands. Won't be long before I remove all the glue!
On to printing the Hamsa hands!