Wednesday, February 11, 2015

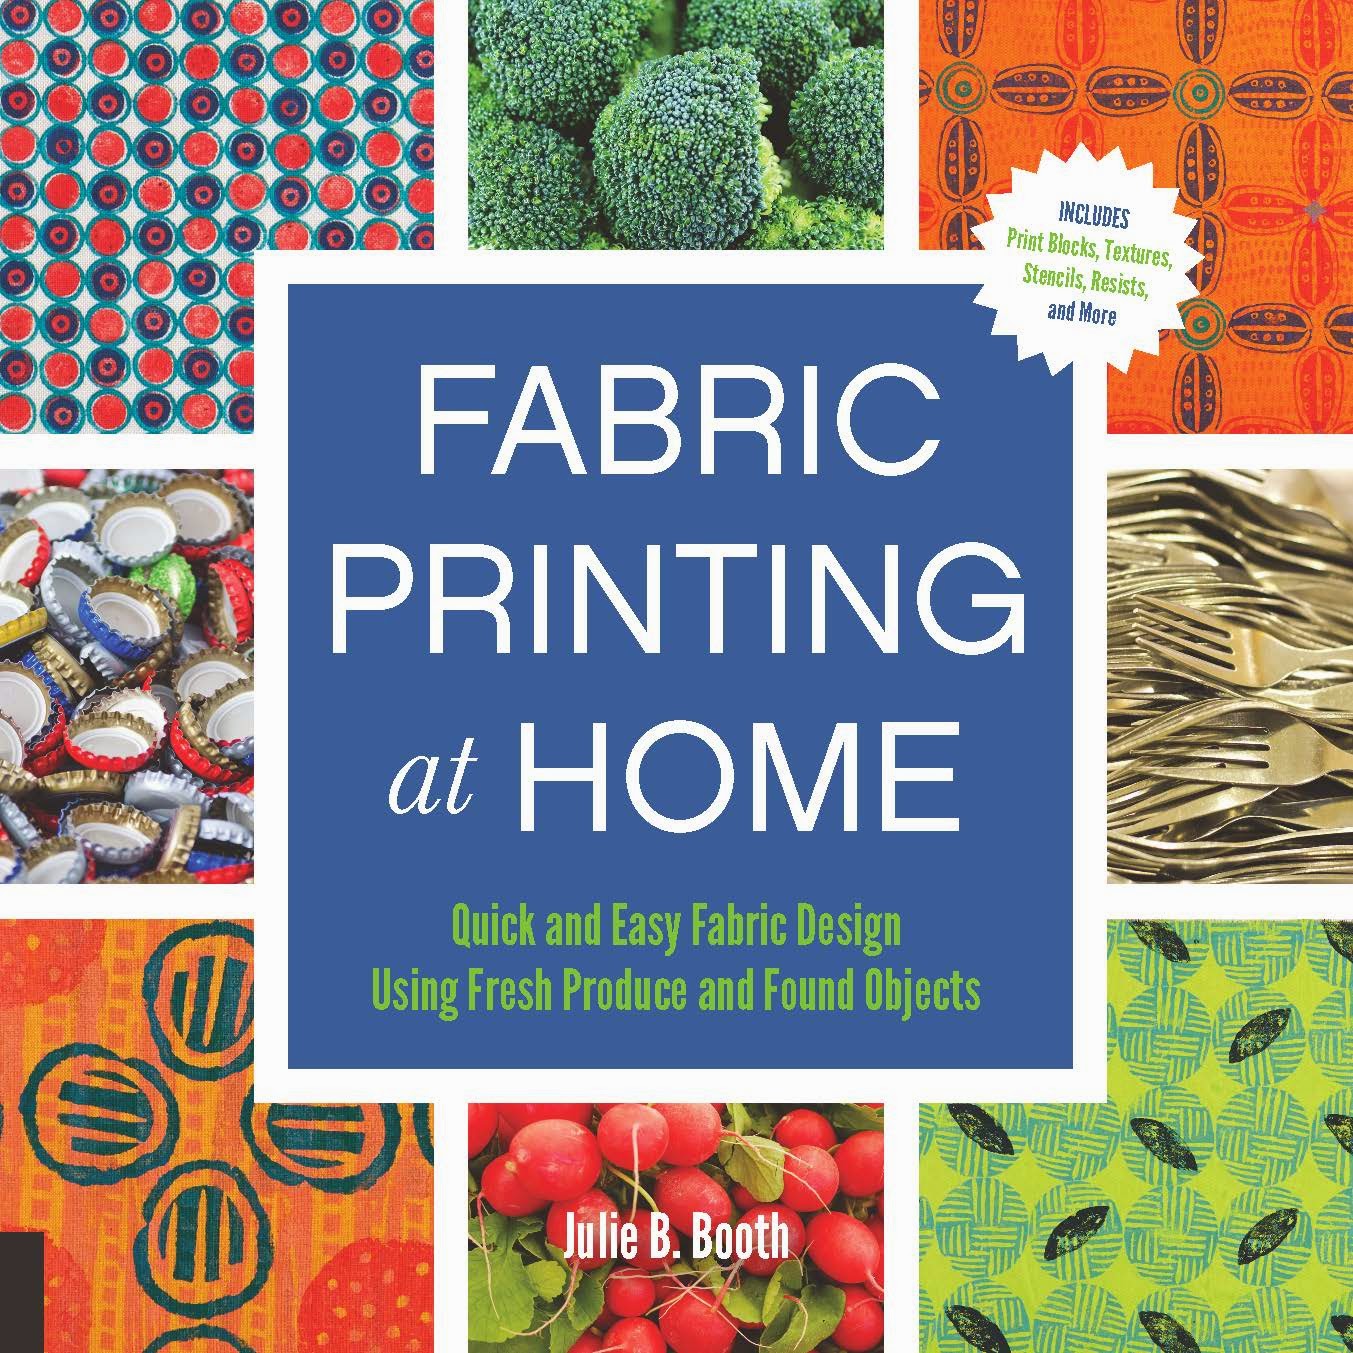
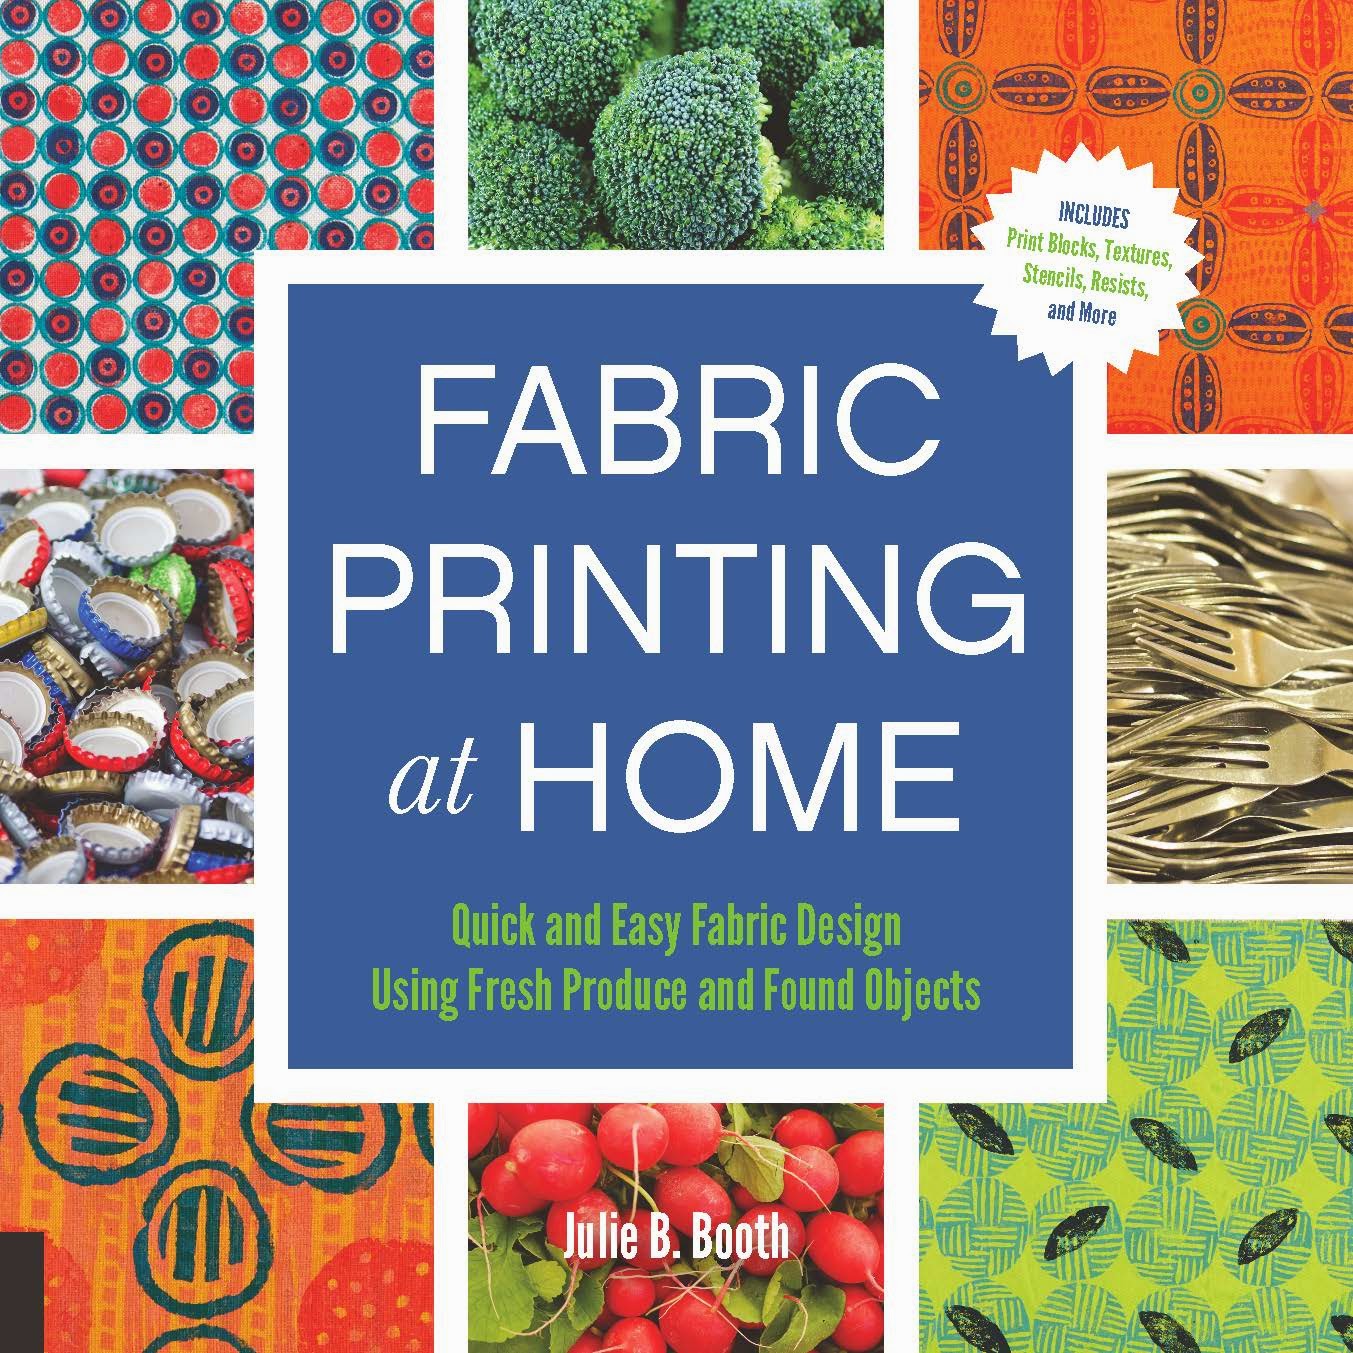
Day #11: Fabric Printing at Home Blog Tour


Welcome to Day #11 of the Fabric Printing at Home Blog Tour! Today, we'll visit Lynda Heines' blog. Did you know that Lynda was the first person to discover and write an article about ice dyeing?! Clearly she is a surface design explorer and one who enjoys sharing what she discovers...


My obsession with fabric surface design emerged while writing my “Telling Your Story” newspaper column about local artists. I was so inspired by the fabric artists I interviewed that I decided that I wanted to spend more time creating my own art, especially working with fabric, dyes, and paints.  I tried snow dyeing, but with very little snow here most winters, that proved difficult. But I thought that ice cubes would also work, and so ice dyeing was born. I wrote the first article on ice dyeing, which appeared in Quilting Arts magazine in 2011, and taught a webinar in June 2013 on that topic.

But for me it’s not just playing with ice and dye. I also love working with other ways to change the look of the fabric’s surface including, but not limited to, sun printing, soy wax batik, discharge, gelatin printing, thermofax screen-printing with dye attractant and inks, and marbling. I also love using all kinds of tools for marking the fabric from potato mashers and wood printing blocks to doilies and lace.

I love to share this art-making journey through local classes and on my blog (bloombakecreate.com). My goal is to inspire others to stretch their creative muscles by trying something new and challenging. I always say if I can do it, you can too.


Be sure to stop by Lynda's blog today and leave a comment for a chance to win 2 copies of Fabric Printing at Home.

TIP: Verb It!
 
Assortment of print blocks using recycled materials.
Here's a great idea for approaching any new material....verb it! Make a list of verbs and see if you can apply that verb to your material. It's a real eye and mind opener! For example...when I was starting to work with the recycled materials in Chapter 5: Recycled and Repurposed in Fabric Printing at Home, here are some of the verbs that came to mind:

Cut
Tear
Shread
Crumple
Scrunch
Punch (as in punch out)
Slit
Wrap
Glue
Tape
Roll
Weave
Braid
Knot
Twist
Stack
Curl
Peel
Fold
Layer
Incise
Emboss
Print
Rub (as in make a rubbing)
Stencil

Can you add to this list?

Today's giveaway is a journal for brainstorming (and verbing it!) and for taking notes about your surface design discoveries (see Day #10). Also, since many of you have trouble finding freezer paper where you live, I'll throw in (10) 8.5" x 11" pieces of freezer paper! Leave a comment for a chance to win. I will choose a winner at 11:00 PM Eastern USA time. Check tomorrow's post to see if you are the winner. Your comment also enters you in the final drawing on February 15 for a free copy of Fabric Printing at Home: Quick and Easy Fabric Design Using Fresh Produce and Found Objects.

 And now for the winner of yesterday's giveaway (Pigma Micron Archival Marking Pens)...congratulations to Jan Miller! Please email me with your contact information (threadborn@cox.net) so I can send off your prize.

Tomorrow the tour stops at Cheryl Sleboda's blog. Cheryl is a bit like a superhero...a comic book industry executive by day and an award winning art quilter by night! Find out more about her in tomorrow's post.

Be sure to visit all the stops on the Tour:
February 2: Lisa Chin

February 3: Lynn Krawczyk
February 4: Jane Davila
 
February 5: Carol R. Eaton
February 6: Judy Gula 
February 7: Susan Purney Mark 
February 8: Teri Lucas 
February 9: Jennifer Coyne Qudeen 
February 10: Deborah Boschert 
February 11: Lynda Heines 
February 12: Cheryl Sleboda 
February 13: Terri Stegmiller 
February 14: Jackie Lams

Tuesday, February 10, 2015

Day #10: Fabric Printing at Home Blog Tour


We've made it to double digits! Welcome to Day #10 of the Fabric Printing at Home Blog Tour! 

Today it's off to Deborah Boschert's blog. Deborah is a fellow member of The Printed Fabric Bee. I always enjoy seeing her approach to each month's fabric...she is also fond of using simple materials to create beautiful fabric designs.


Deborah Boschert is a fiber artist living in the Dallas area. She loves to incorporate words, sheer layers, hand embroidery, surface design and found objects in her art quilts. Her work is published in many books and magazines and in many international quilt exhibits. Deborah has lived in twelve states and takes inspiration from the variety of places she’s lived and people she’s known. She is always seeking creative spirit, new ideas and a great cuppa coffee. Read about her life and art on her blog DeborahsJournal.blogspot.com and check out her art quilts at www.deborahsstudio.com


Stop by Deborah's blog today and leave a comment for a chance to win a copy of Fabric Printing at Home.

TIP: Make a Record of Your Printing Explorations
Here are some quick tips I used when exploring the materials in Chapter 2: Kitchen Textures and Found Object Printing in Fabric Printing at Home.
  • There were so many choices and layering possibilities using flat kitchen textures (such as shelf liner, textured placemats, gripper pads and netted bags), that I found the best way to keep track was to make a series of samplers testing them out. On each sampler, I wrote notes with a permanent marker to remind me which texture I used and the order in which I layered them. 
 

  • I also "took an inventory" of all the found objects I printed (e.g. bottle caps, batteries, pencil erasers, kitchen utensils). I took a close look at each object and asked myself, "Can I print with the top, bottom or sides of it? Can I roll it across the fabric? Is one part of the object more visually interesting than another?"
 
Having a printed "record" of how I used these kitchen materials and taking notes makes these samplers a great reference that I can come back to again and again.


Today's giveaway is (2) Pigma Micron Archival Marking Pens. These pens are great for making notes on your inventory samplers or adding a finishing touch to a fabric design. Leave a comment for a chance to win. I will choose a winner at 11:00 PM Eastern USA time. Check tomorrow's post to see if you are the winner. Your comment also enters you in the final drawing on February 15 for a free copy of Fabric Printing at Home: Quick and Easy Fabric Design Using Fresh Produce and Found Objects.

 And now for the winner of yesterday's giveaway (disappearing ink marking pen)...congratulations to Mary Ann of Blue Sky Dreaming ! Please email me with your contact information (threadborn@cox.net) so I can send off your prize.

Tomorrow the tour stops at Lynda Heines.  Lynda is an accomplished writer and fabric designer, I look forward to introducing you to her tomorrow.

Be sure to visit all the stops on the Tour:
February 2: Lisa Chin

February 3: Lynn Krawczyk
February 4: Jane Davila
 
February 5: Carol R. Eaton
February 6: Judy Gula 
February 7: Susan Purney Mark 
February 8: Teri Lucas 
February 9: Jennifer Coyne Qudeen 
February 10: Deborah Boschert 
February 11: Lynda Heines 
February 12: Cheryl Sleboda 
February 13: Terri Stegmiller 
February 14: Jackie Lams

Monday, February 9, 2015

Day #9: Fabric Printing at Home Blog Tour


It's Day #9 of the Fabric Printing at Home Blog Tour. Today, I'd like to introduce Jennifer Coyne Qudeen. I've know Jennifer for many years. We first met when we both were showing work in the Torpedo Factory Art Center. Back then, Jennifer was making colorful woven baskets. Her work has gone through a major sea change since then...rust and teabags!

Jennifer gained an appreciation for fiber arts early as her mother and grandmother hand quilted and crocheted. Baskets were particularly fascinating and in 1982 she learned the fundamentals of weaving with reeds and other natural materials.

During the next 20 years, Jennifer’s work evolved from traditional, functional baskets into vibrant abstract wall pieces that were studies in color, movement and texture. She became a juried member of the Torpedo Factory Art Center in Alexandria, VA in 2002 and participated in many nationally recognized art shows including the Philadelphia Museum of Art Craft Show.

Jennifer’s focus changed in 2006 when she fell in love with mark making. Continually experimenting and pushing her artistic boundaries by asking what if, she now combines her passions for tea, mark making, direct rust printing, stitching, photography and storytelling to create artist books and wall pieces with a wabi sabi aesthetic.
www.jennifercoynequdeen.blogspot.com

Stop by Jennifer's blog today and leave a comment for a chance to win a copy of Fabric Printing at Home.

 
Valentine's Day T-Shirts 


Here's a quick project for making some Valentine's Day t-shirts! I did two in kid's sizes...wouldn't these be fun to make with kids?
You'll need: A flat work surface covered with plastic, t-shirts (I didn't take the time to wash the ones I used, but I suggest doing that...no softeners); opaque fabric paint (your choice but suggest including white); foam daubers or stencil brushes; glass palette (to spoon on and daub paint); freezer paper; pencil; craft knife (or scissors), ruler; disappearing marker; masking or blue painter's tape; doilies (or other "found" textures that can be used as stencils); small paint brush; pencil top eraser or pencil grip or other objects that can make a small repetitive print (See Eraser Fun on p. 44, Fabric Printing at Home); piece of cardboard covered with plastic (insert into shirt to keep paint from reaching back side of shirt); iron and ironing board; pressing cloth.

1. Measure and cut a 6" square of freezer paper. Fold the paper in half and draw and cut out a heart shape. Save both the heart shape and the "negative" cut away (See Freezer Paper Fun: Masks and Stencils on p.62, Fabric Printing at Home).

2. Use the disappearing marker to mark the center-line of the t-shirt. Decide how far from the neckline you want to have the design. Center the negative cutaway (which will act as a mask) on the drawn line and iron to the shirt.


3. Insert the plastic-covered cardboard inside the shirt to protect the back of the shirt from paint applied to the front.


4. Mix a background color for the heart. Spoon some of the color onto the glass palette and use a foam dauber to pick up the paint. Apply the paint to the open area of the freezer paper mask.


5. Add some texture to the background color. I used a doily. Mix and apply paint through the openings of the doily. (See Create a Collage Design with Layered Textures on p. 30, Fabric Printing at Home).


6. Tape masking or blue painter's tape around the perimeter of the freezer paper mask.


7. Remove the freezer paper mask. Let the paint dry.


8. Iron the heart shape you originally cut out over the painted heart. Now you can start working on the background.

9. Mix a color that contrasts with the painted heart and apply it to the shirt with a foam dauber.


10. Add some details with either the end of a paintbrush dipped in paint or use a pencil top eraser.


11. Set the paint following the manufacturer's instructions. I used an iron and pressing cloth. Once set, you can wash with mild detergent using cold water in the delicate cycle.

Voila! Festive Valentine's Day t-shirts!

Today's giveaway is a disappearing ink marking pen. I like to use this pen to line up prints. The markings disappear over a short period of time. Leave a comment for a chance to win. I will choose a winner at 11:00 PM Eastern USA time. Check tomorrow's post to see if you are the winner. Your comment also enters you in the final drawing on February 15 for a free copy of Fabric Printing at Home: Quick and Easy Fabric Design Using Fresh Produce and Found Objects.


And now for the winner of yesterday's giveaway (a package of four 1" foam brushes)...congratulations to Laura ! Please email me with your contact information (threadborn@cox.net) so I can send off your prize.

Tomorrow the tour stops at Deborah Boschert's blog. Deborah has lived all over the USA and takes inspiration for her beautiful art quilts from the many places she's lived and people she's met.


Be sure to visit all the stops on the Tour:
February 2: Lisa Chin

February 3: Lynn Krawczyk
February 4: Jane Davila
 
February 5: Carol R. Eaton
February 6: Judy Gula 
February 7: Susan Purney Mark 
February 8: Teri Lucas 
February 9: Jennifer Coyne Qudeen 
February 10: Deborah Boschert 
February 11: Lynda Heines 
February 12: Cheryl Sleboda 
February 13: Terri Stegmiller 
February 14: Jackie Lams

Sunday, February 8, 2015

Day #8: Fabric Printing at Home Blog Tour


We've reached Day #8 on the Fabric Printing at Home Blog Tour!

Today we'll be visiting Teri Lucas' blog. Teri is a writer, editor, teacher and award-winning quilter!


Teri Lucas started quilting a way back when in the early 90's, 1990's that is. A passionate machine quilting teacher, she took up machine quilting in 2007, started teaching in 2008. Teri appeared on Quilting Arts TV, written for Quilting Arts, The Quilt Life and Generation Q Magazine. Teri is an Associate Editor with Generation Q Magazine. She is an award winning quilter living in The Bronx with her husband of 22 years.

Stop by Teri's blog today and leave a comment for a chance to win a copy of Fabric Printing at Home.

TIP: A Little Goes a Long Way!
Those of you who regularly receive my online newsletter, Julie B Booth Surface Design News, probably recognize my refrain, "A little goes a long way." I use this "line" whenever I refer to paint amounts and printing.

Often students put too much paint on their brush, foam dauber or glass palette (and subsequently their dense foam brayer). All result in too much paint on a print block and messy prints. Better to start with a little bit of paint and add a little more as needed. Here are some tips:

1. When using a foam brush with transparent fabric paint: Dip the brush into the paint and "pump" it up and down in the container to soak up paint. Be sure to drag the tip of the brush across the edge of the container to release excess paint before painting the fabric or block.


2. When using a foam brush with opaque fabric paint: Dip the brush in the paint and drag the tip across the edge of the container to release excess paint before painting the print block or printing plate.

3. When using a foam dauber with opaque fabric paint: Spoon a small amount of paint onto a glass palette or a plastic container top. Press the dauber into the paint and then press it a few times on the glass/plastic to release excess paint before applying paint onto a print block or through the openings in a stencil.


4. When using a dense foam brayer with opaque fabric paint: Spoon about 1/4 teaspoon of paint onto a glass palette. Roll the brayer over the paint to spread it out on the glass and to evenly coat the brayer. Roll an even coat of paint on a print block.


Today's giveaway is a set of four 1" foam brushes....so you can practice your paint application techniques! Leave a comment for a chance to win. I will choose a winner at 11:00 PM Eastern USA time. Check tomorrow's post to see if you are the winner. Your comment also enters you in the final drawing on February 15 for a free copy of Fabric Printing at Home: Quick and Easy Fabric Design Using Fresh Produce and Found Objects.


And now for the winner of yesterday's giveaway (a set of 3 plastic spreaders)...congratulations to Deb Clarke! Please email me with your contact information (threadborn@cox.net) so I can send off your prize.

Tomorrow the tour stops at Jennifer Coyne Qudeen's blog. Jennifer and I are good buds. She's an accomplished artist and now a writer. I look forward to introducing you to her tomorrow!


Be sure to visit all the stops on the Tour:
February 2: Lisa Chin

February 3: Lynn Krawczyk
February 4: Jane Davila
 
February 5: Carol R. Eaton
February 6: Judy Gula 
February 7: Susan Purney Mark 
February 8: Teri Lucas 
February 9: Jennifer Coyne Qudeen 
February 10: Deborah Boschert 
February 11: Lynda Heines 
February 12: Cheryl Sleboda 
February 13: Terri Stegmiller 
February 14: Jackie Lams